Creating Your Chatbot
This guide provides step-by-step instructions on how to create a chatbot using WebWhiz. WebWhiz allows you to build an AI chatbot based on your website data that can instantly answer your customers’ queries. Follow the steps below to set up your chatbot.
Step 1: Accessing the Chatbot Creation Section
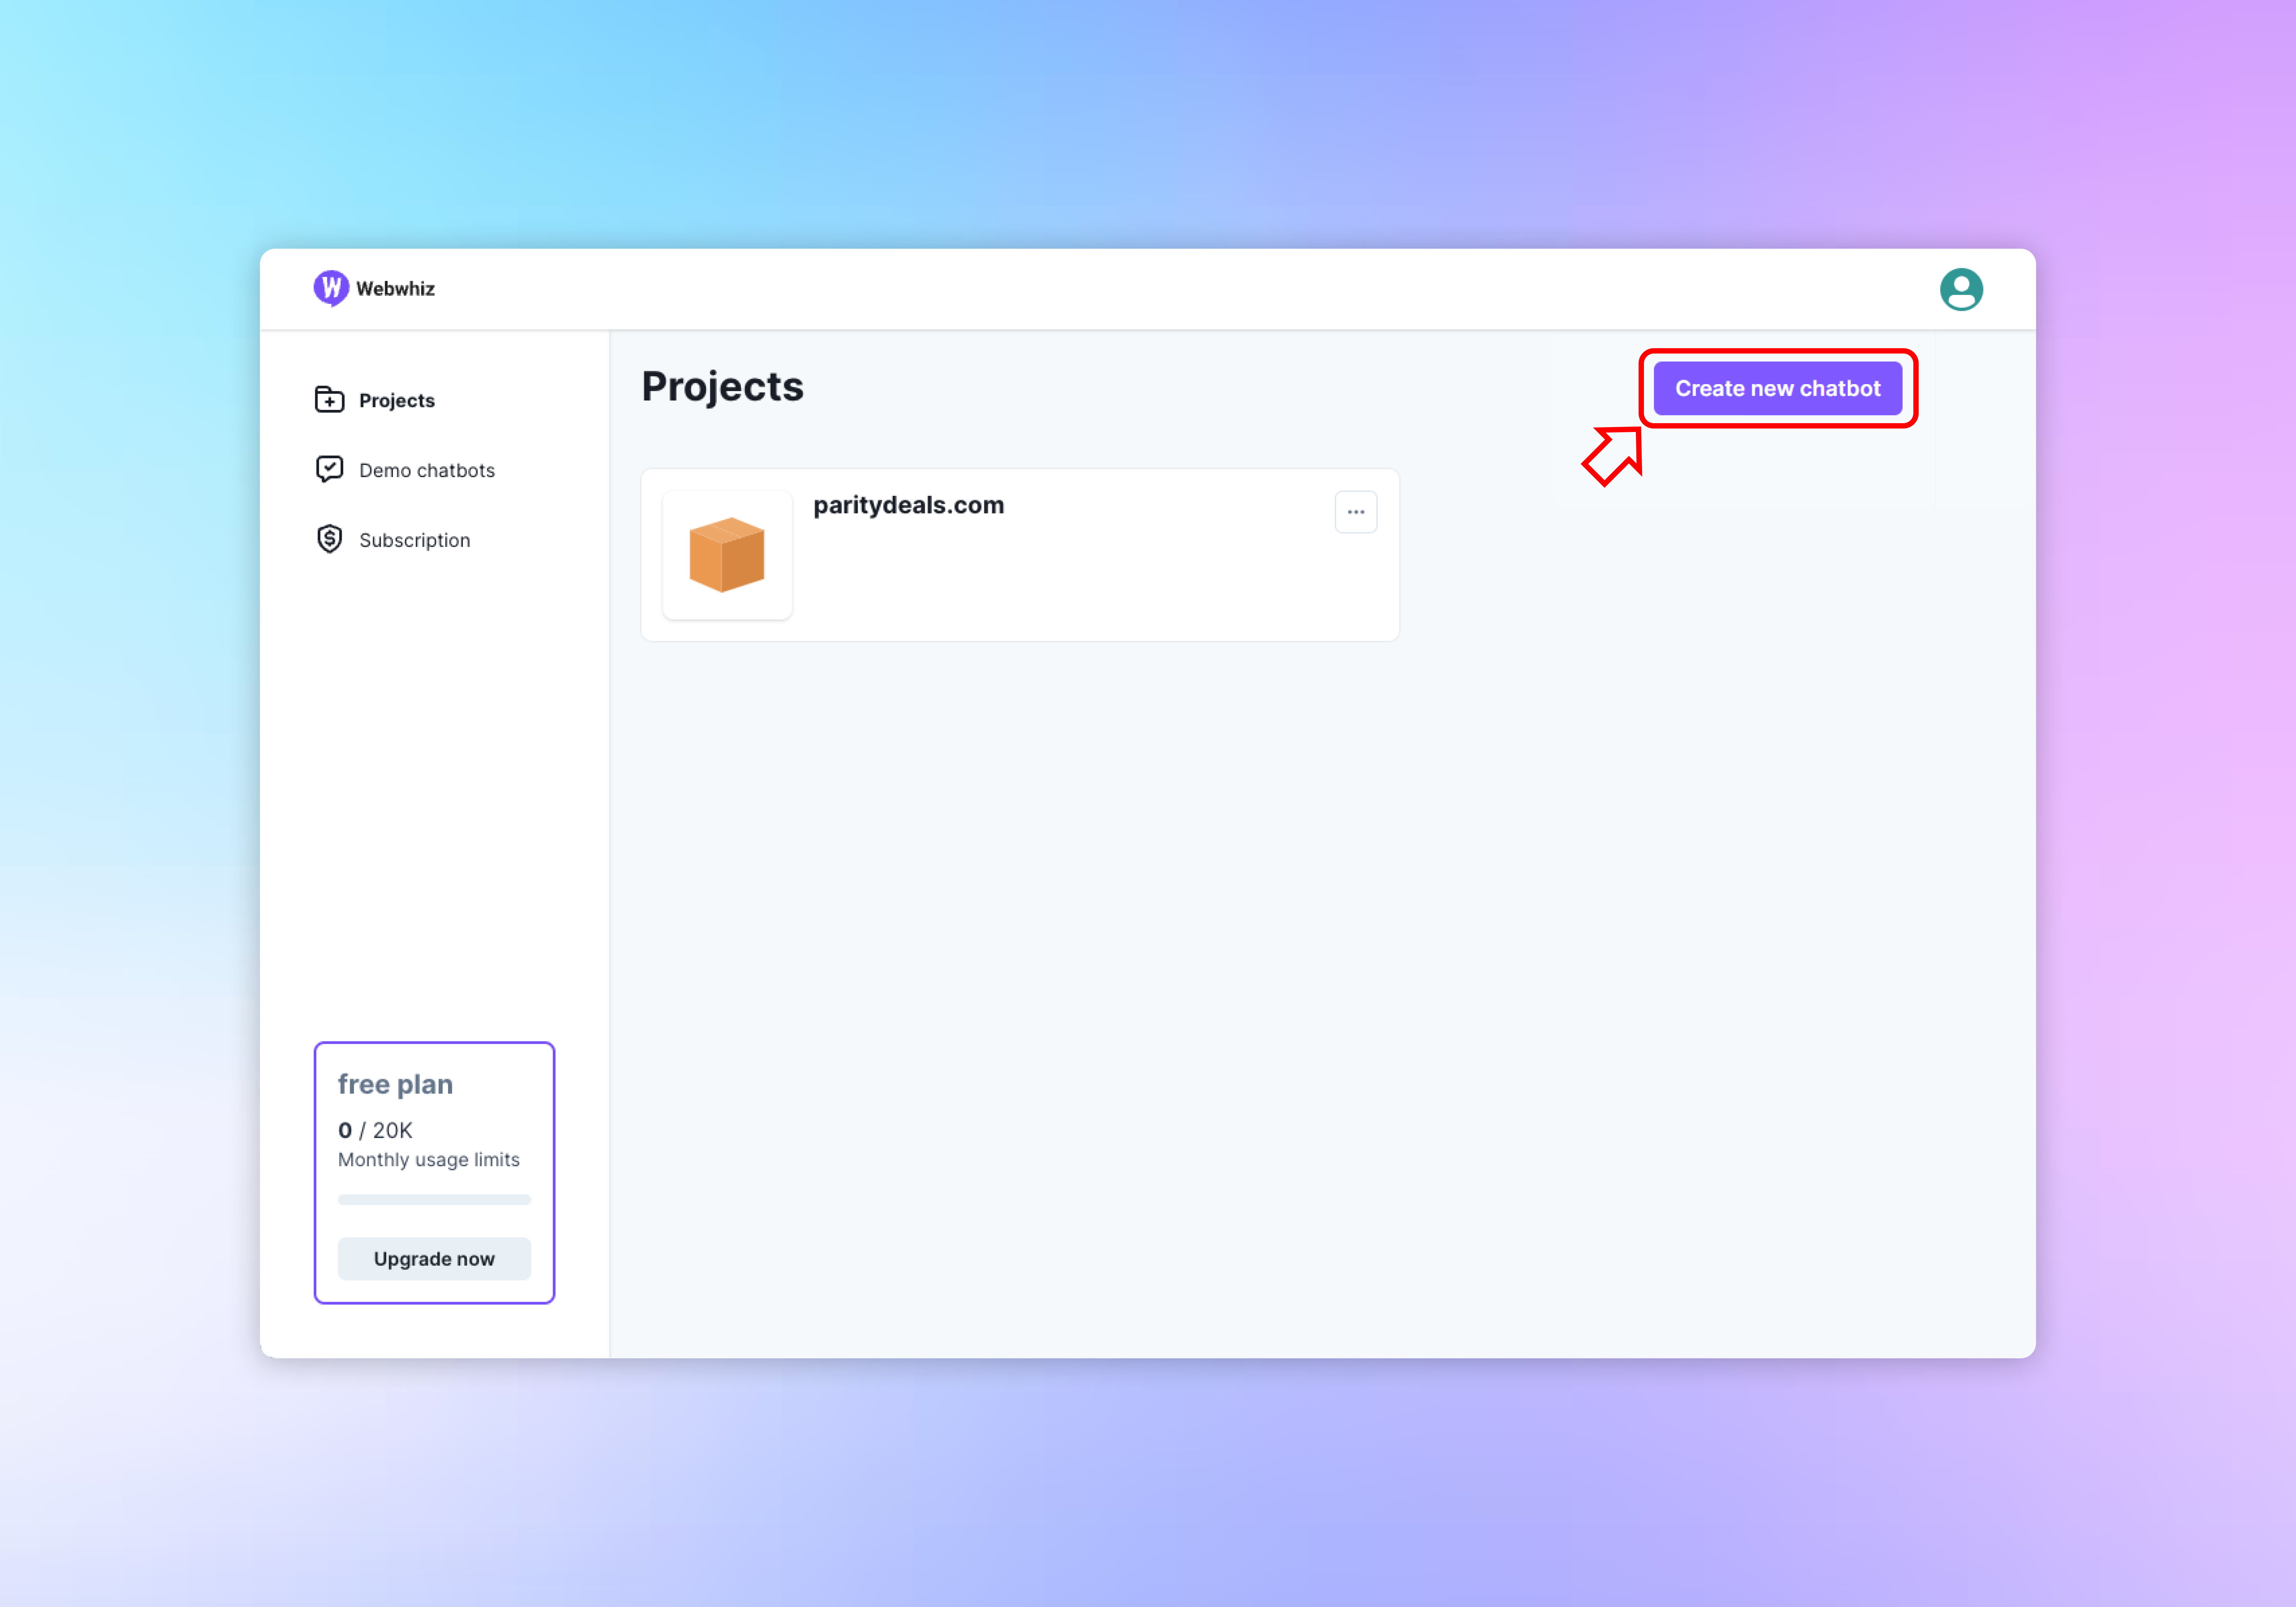
To begin creating your chatbot, navigate to the “Create new chatbot” section of the WebWhiz dashboard. Once there, you will see two tabs: “Website” and “PDF”. Make sure the “Website” tab is selected to proceed with creating a chatbot that will utilize content from your website.
Step 2: Entering Website Details
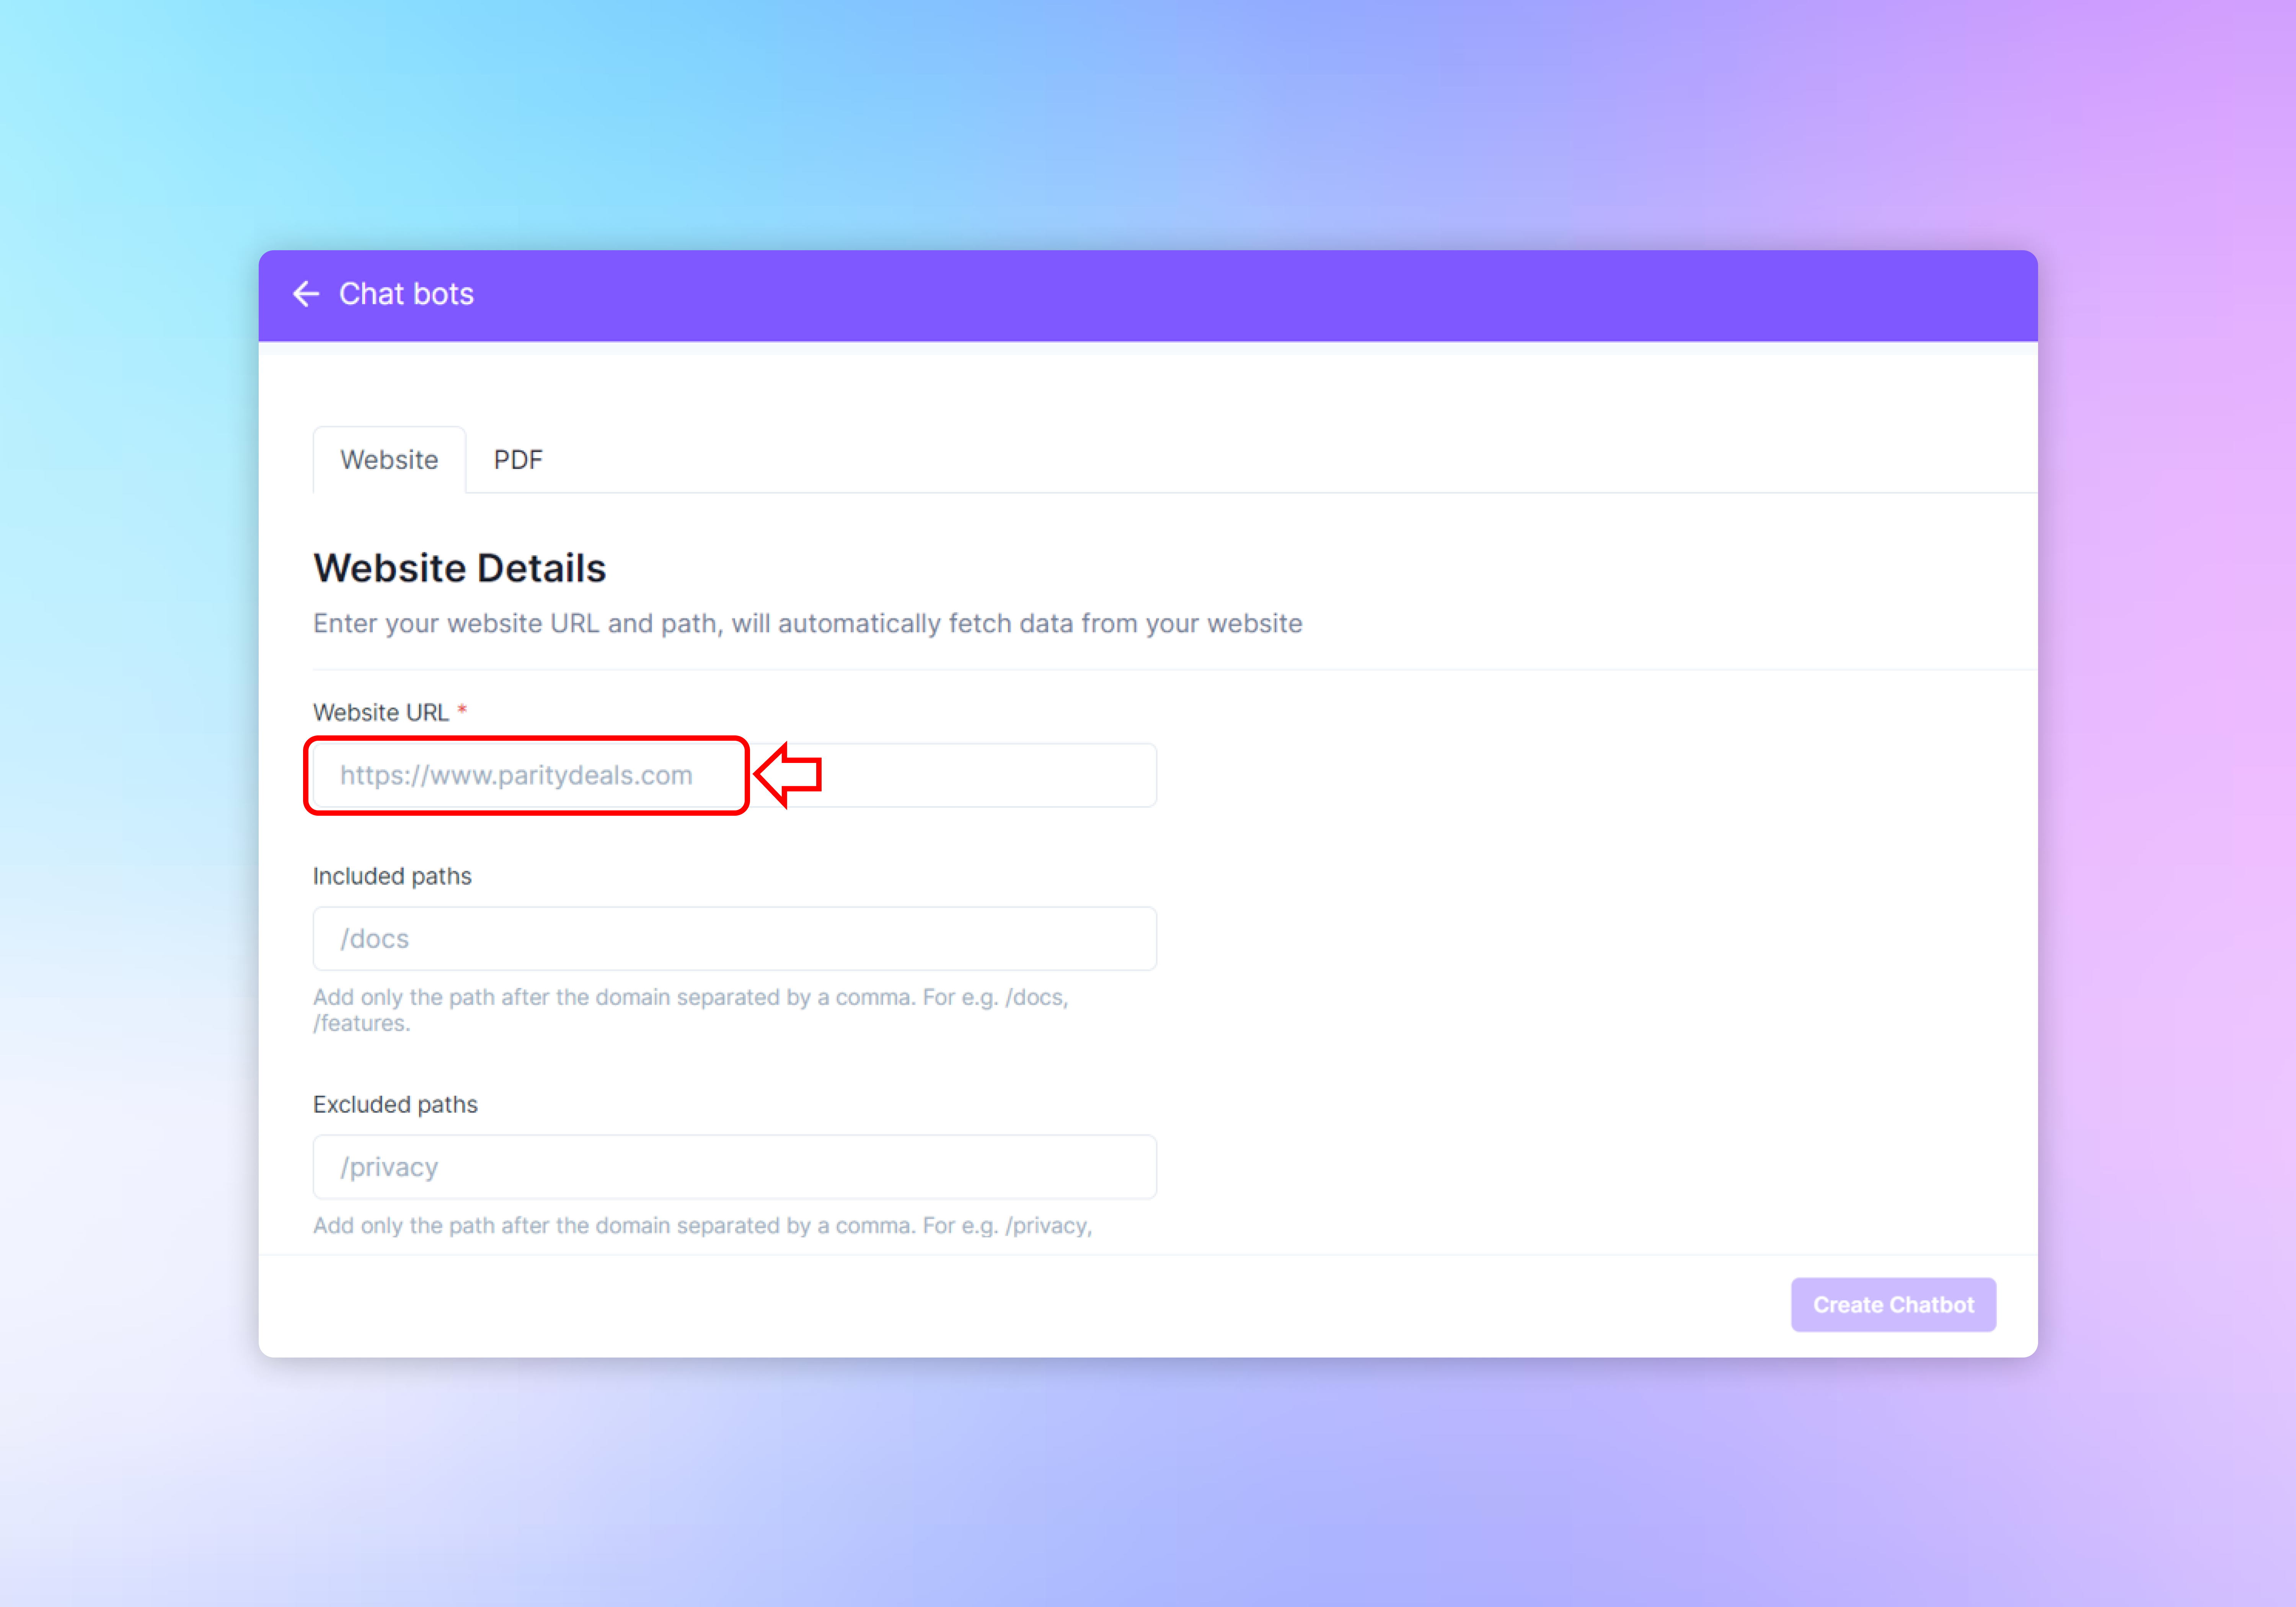
Website URL
- Field Description: In the “Website URL” field, enter the full URL of your website. This should include the https:// protocol to ensure secure data fetching.
- Example Input:
https://www.yourwebsite.com
Included Paths
- Field Description: In the “Included paths” field, specify the paths within your domain that you want the chatbot to access and learn from. These paths should be relevant to the topics the chatbot will handle.
- How to Input: Enter the paths starting with a forward slash
/and separate multiple paths with a comma,. - Example Input:
/products, /services, /about-us
Excluded Paths
- Field Description: Conversely, the “Excluded paths” field allows you to define which parts of your website should not be accessed by the chatbot. This is useful for privacy or irrelevance concerns.
- How to Input: Just like with included paths, enter the paths starting with a forward slash
/and separate multiple paths with a comma,. - Example Input:
/privacy, /terms-and-conditions
Step 3: Upload PDF files
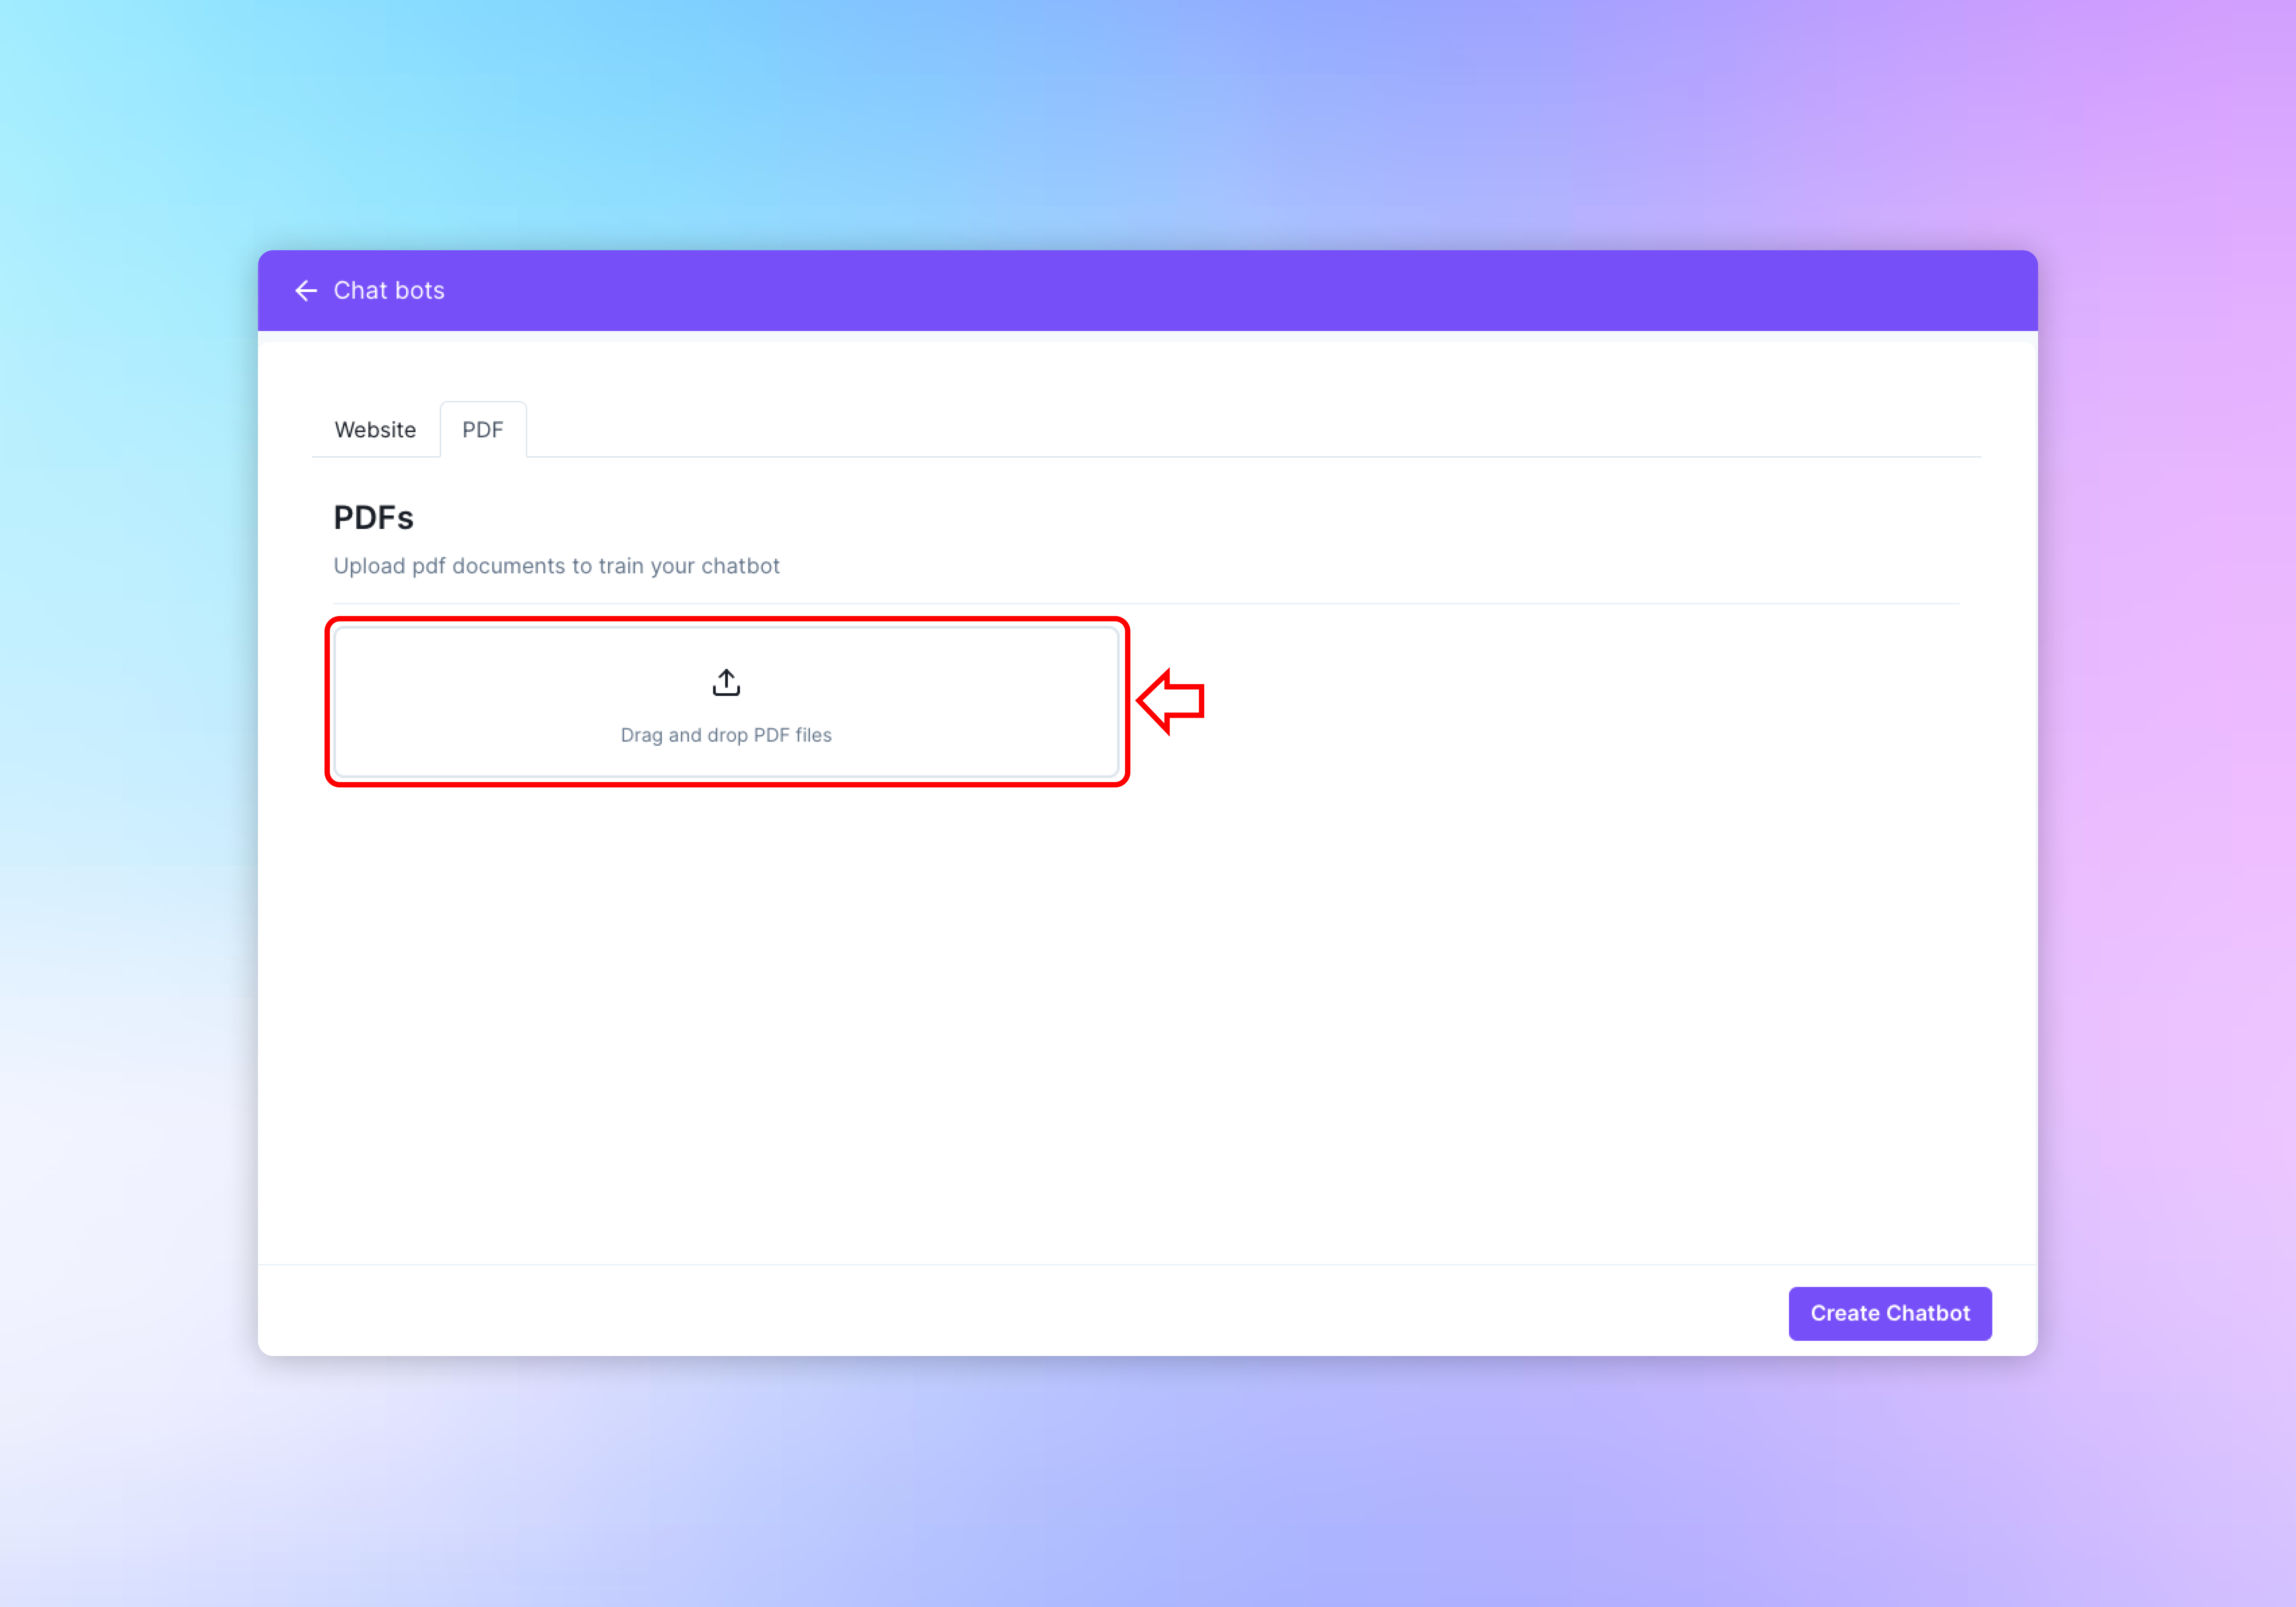
Similar to websites, you can add custom training data using PDF files. To upload PDF documents, navigate to the PDF tab To upload a PDF file, you have two options:
Option 1: Drag and Drop
- Simply drag a PDF file from your computer and drop it into the box that says “Drag and drop PDF files.”
Option 2: File Selection
- If you prefer to select the file manually, click on the box. This will open your computer’s file explorer.
- Navigate through your folders and select the PDF file you wish to upload.
- Once you’ve selected the file, click “Open” to upload it to the platform.
After uploading, you will see the file listed below the upload box.
Step 4: Creating the Chatbot
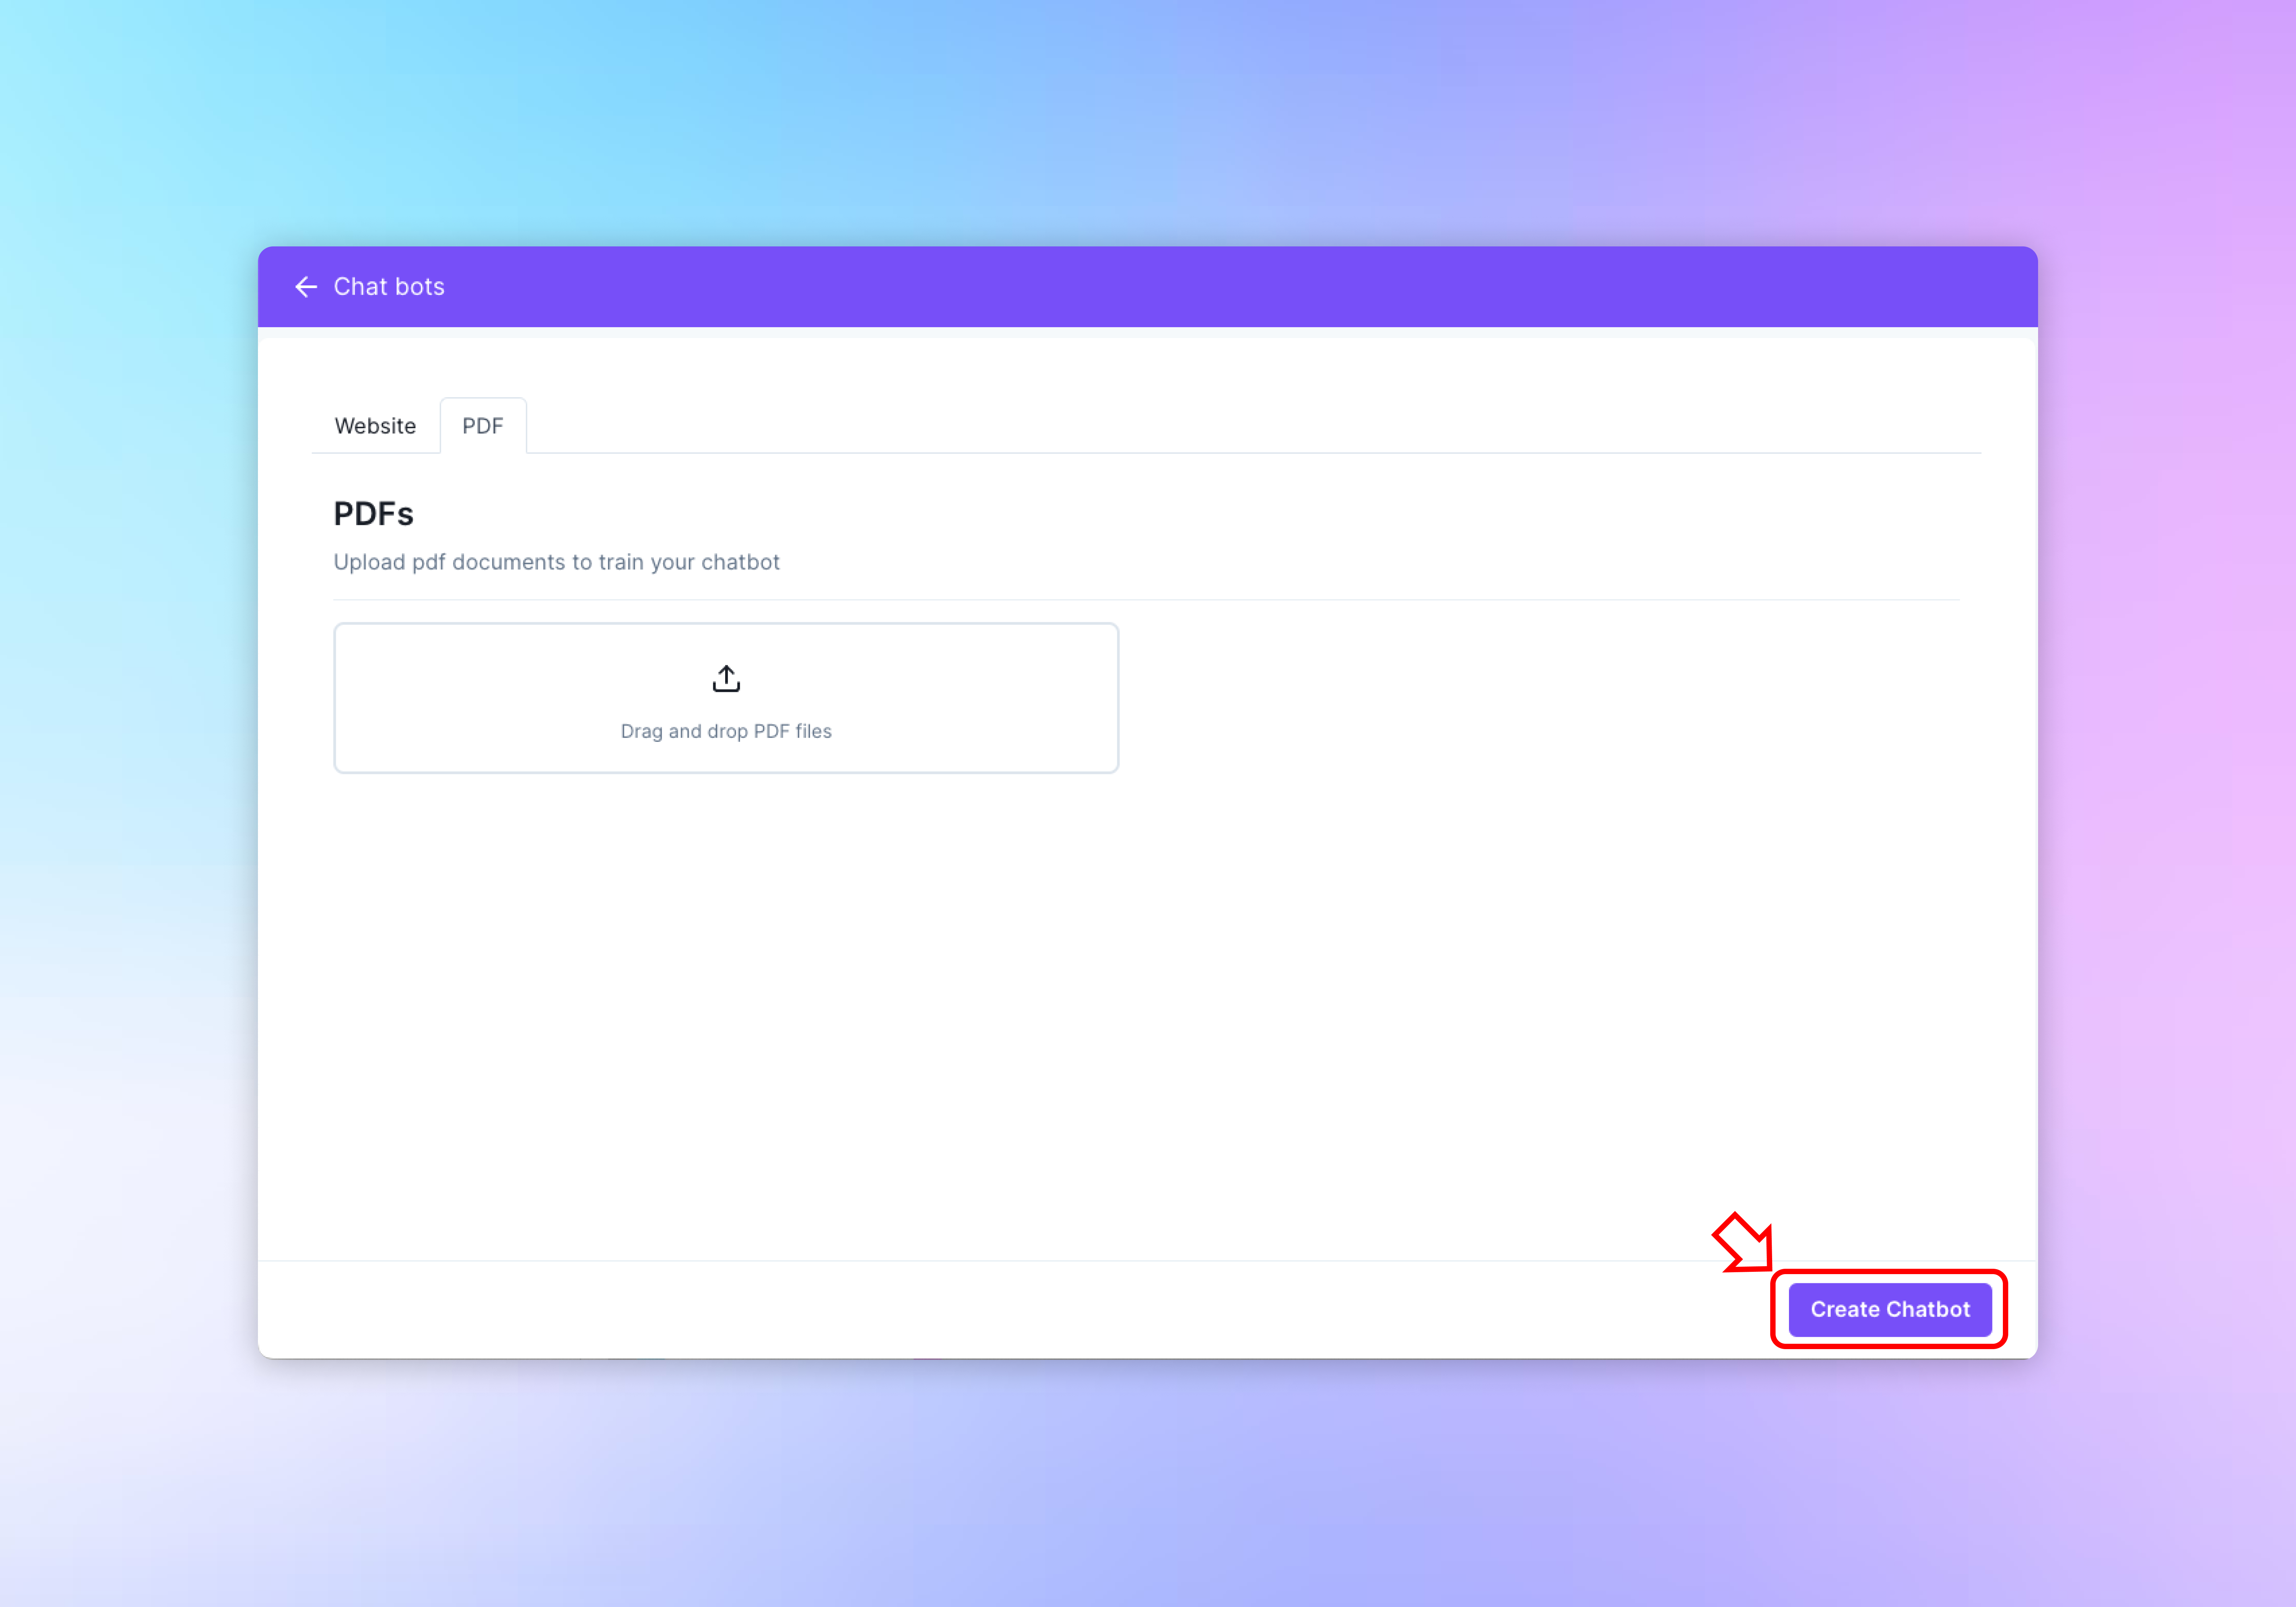
Once you have filled out the necessary website details or uploaded PDF files,
- Review: Double-check the URL and paths and uploaded PDF files to ensure they are correct.
- Create: Click the “Create Chatbot” button located at the bottom right of the section.
Upon clicking “Create Chatbot,” WebWhiz will begin the process of fetching data from the specified paths on your website. This data will be used to train your chatbot, enabling it to answer questions and interact with users based on the content of your site.
Step 5: Confirmation and Next Steps
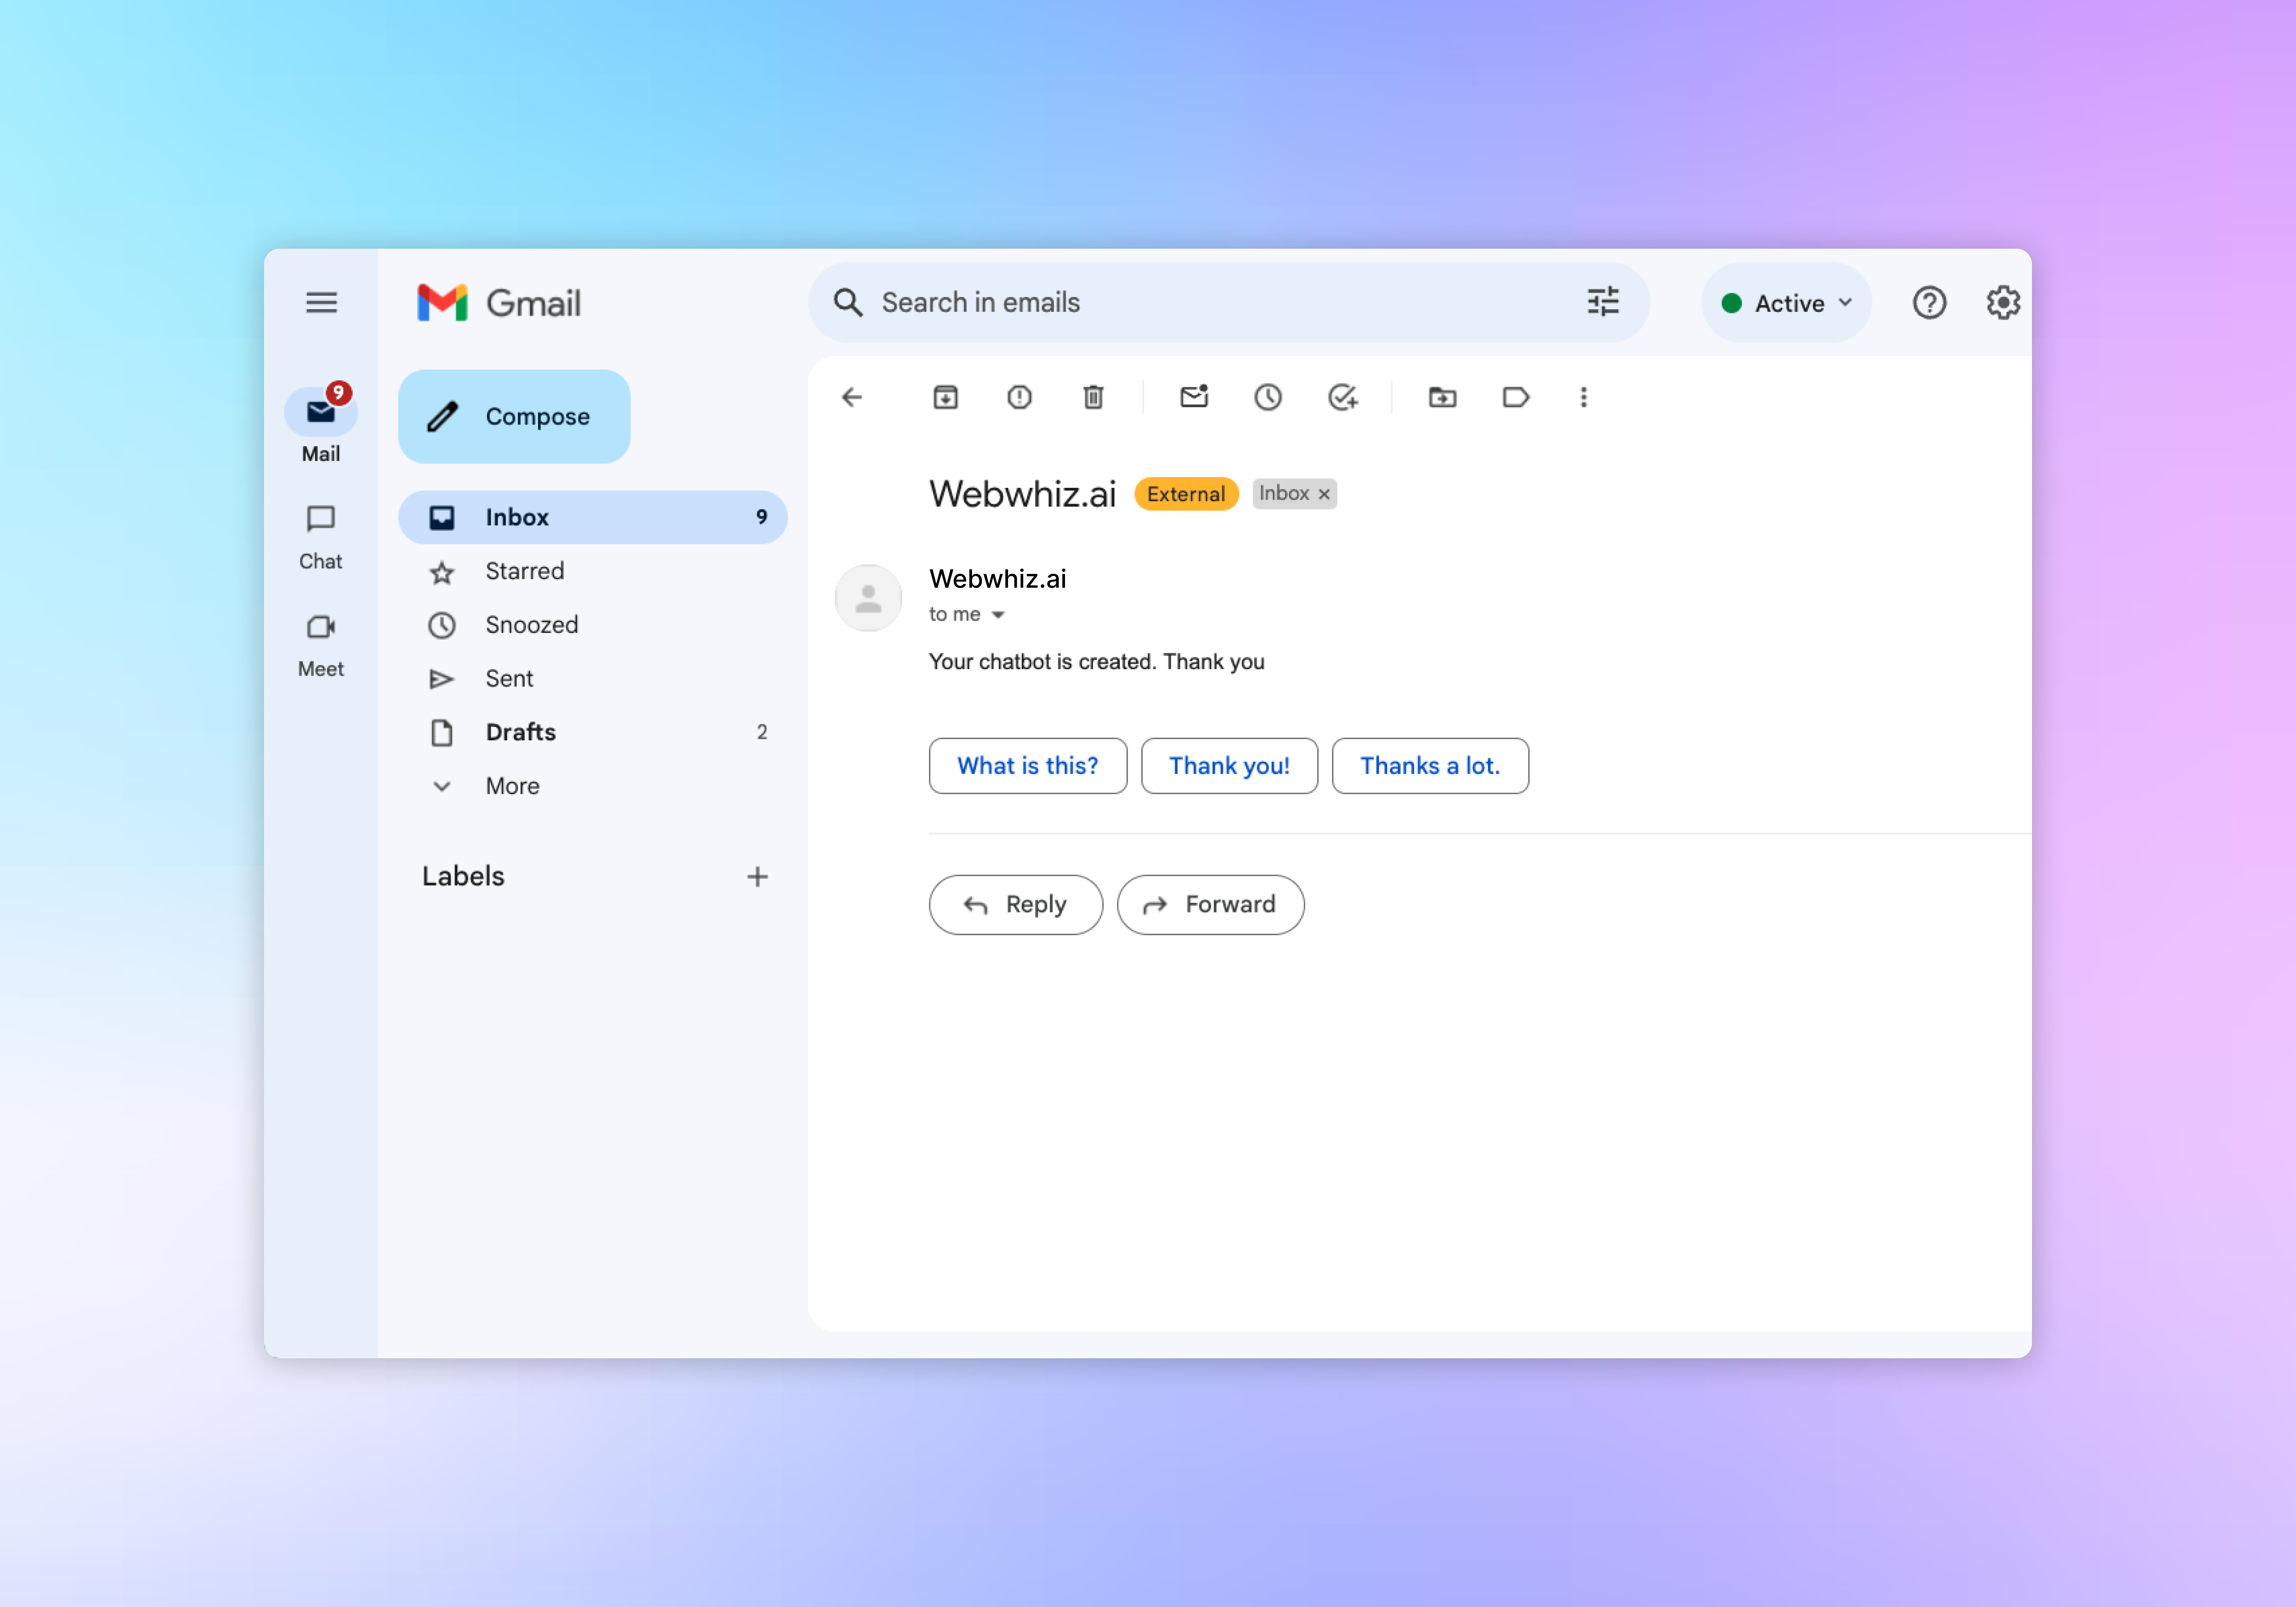
After the chatbot is created, you will receive a confirmation message. You may then proceed to customize and configure your chatbot’s settings, such as its name, greeting messages, response templates, and more through the WebWhiz dashboard.
For any additional assistance or if you encounter any issues during the chatbot creation process, please refer to our support resources or contact our customer service team for personalized help.
Need help with anything? Email us at hi@webwhiz.ai We’ll get back you as soon as possible