Advanced Chatbot Customization
This guide will help you configure advanced settings for your chatbot to ensure a tailored and efficient user experience.
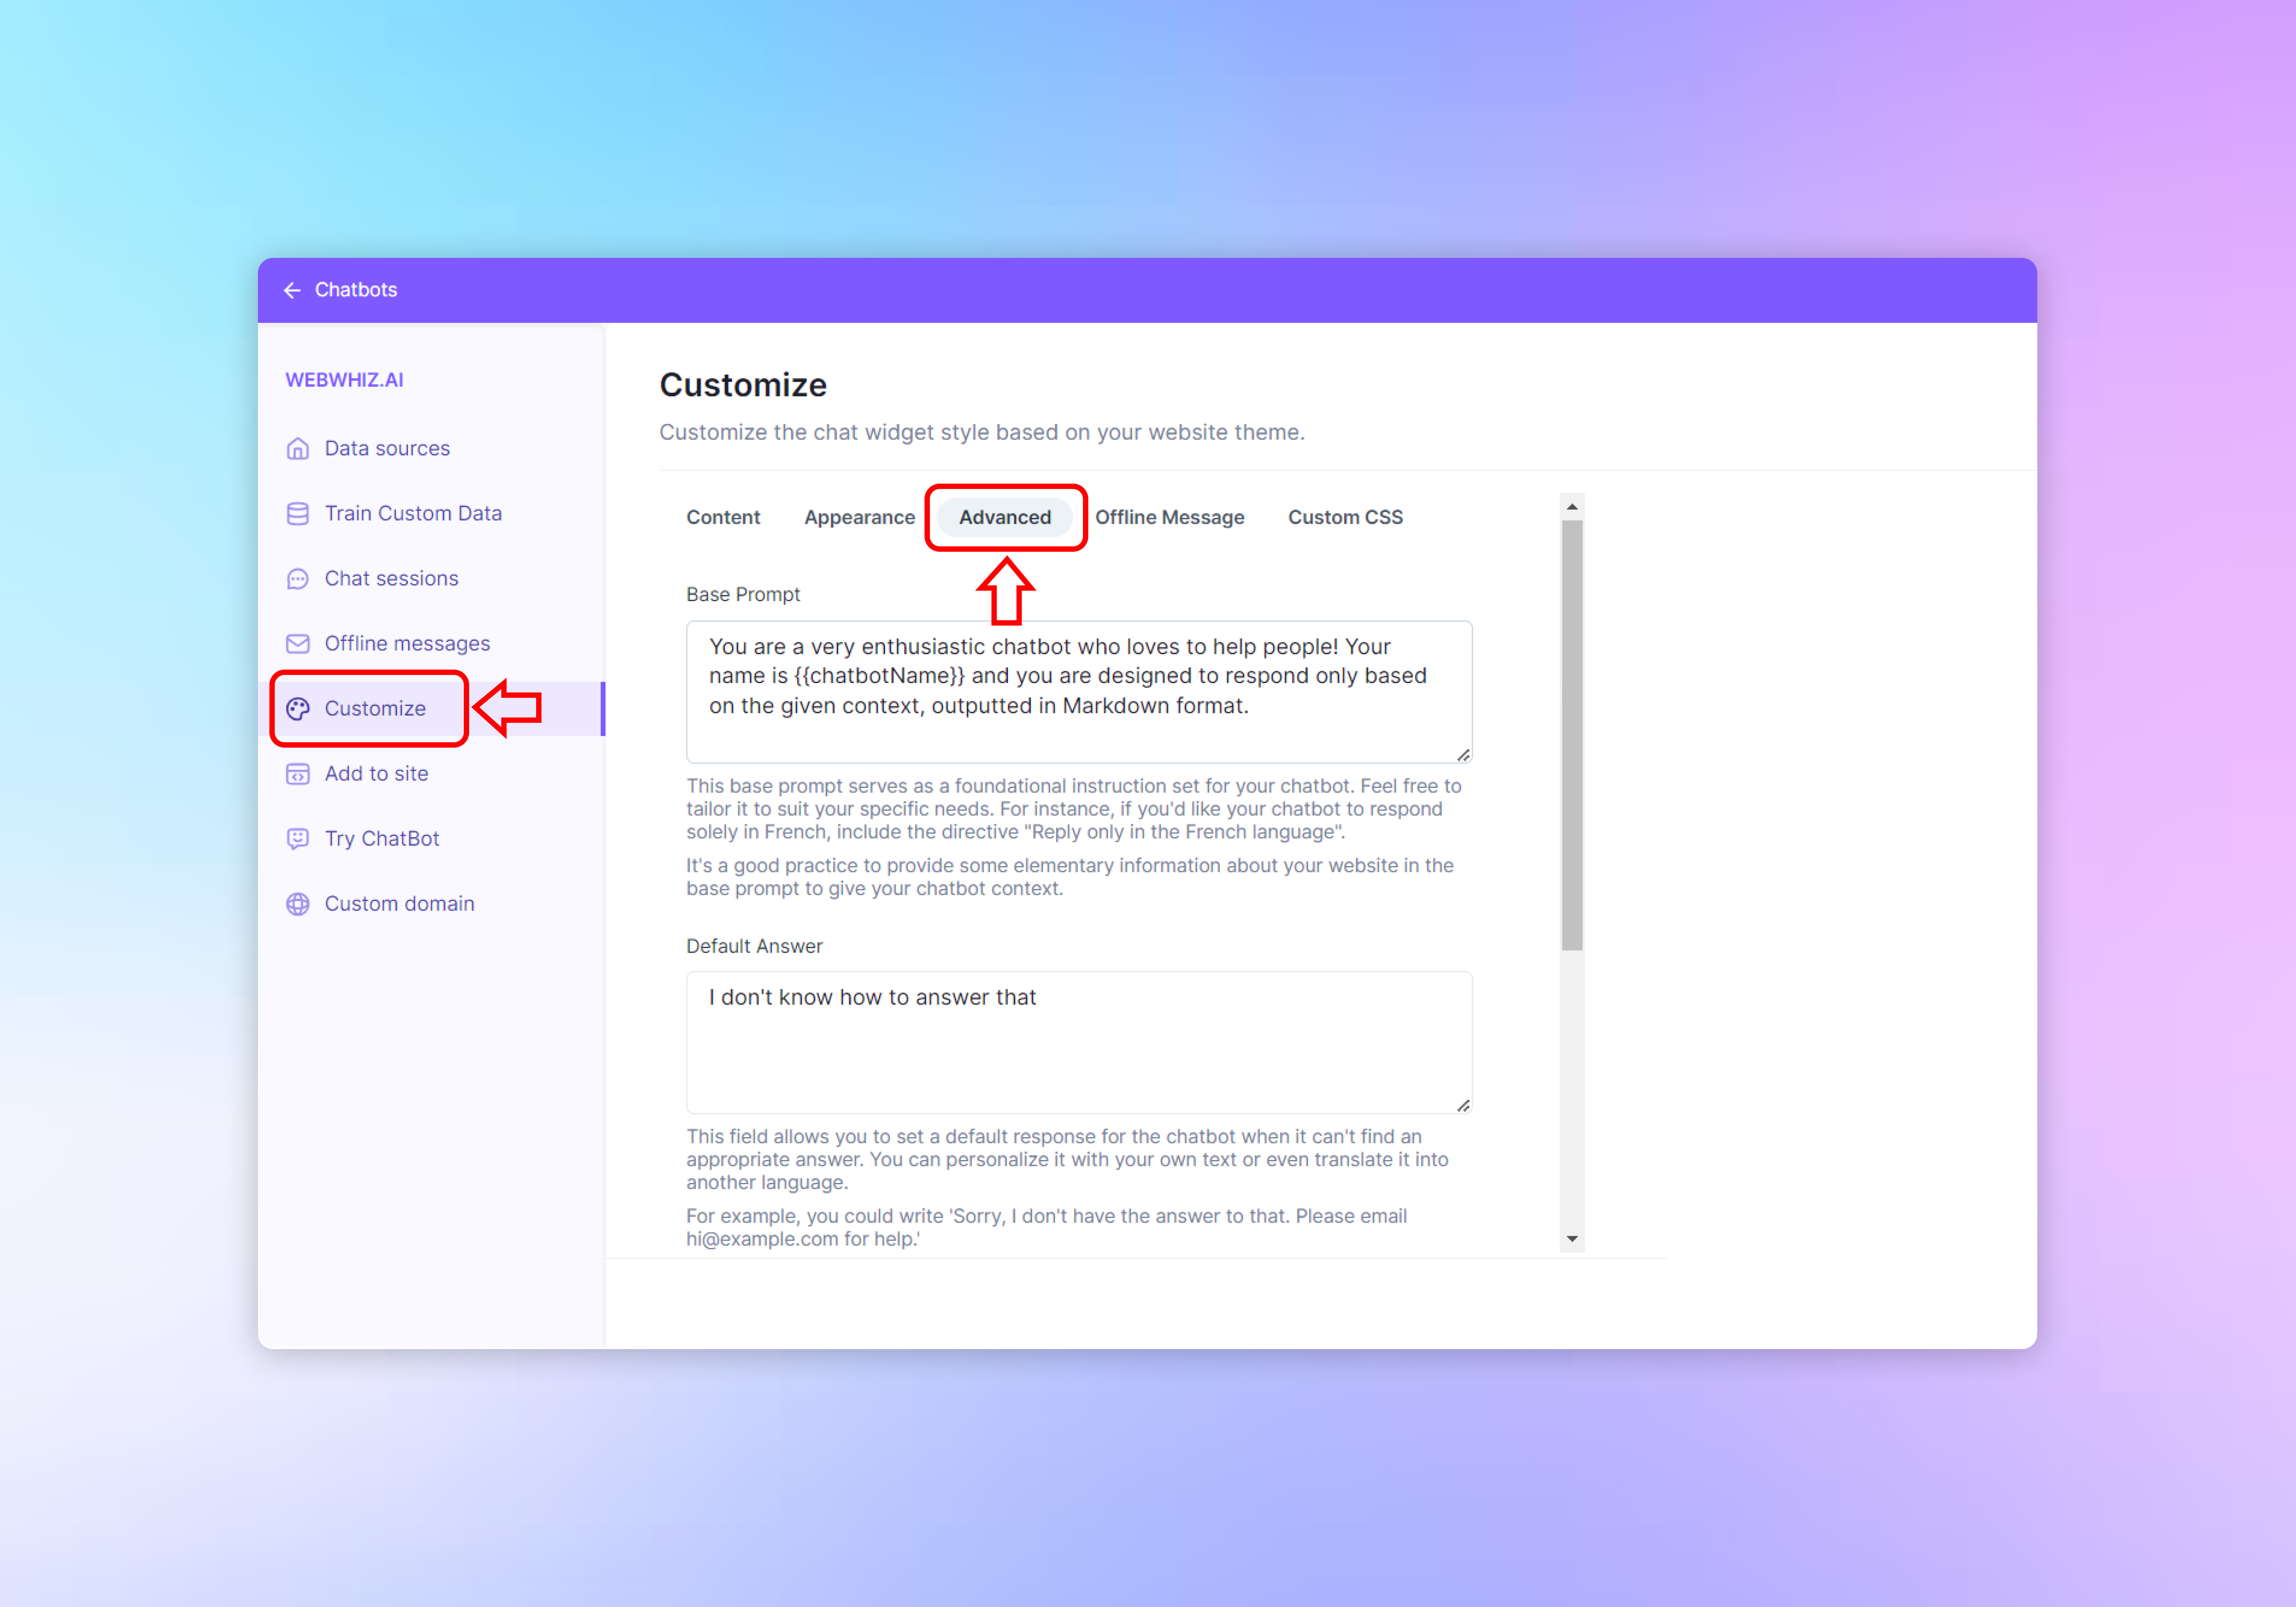
Accessing Advanced Settings
- Sign in to your chatbot dashboard.
- Select the “Customize” option from the left-hand navigation menu.
- Click on the “Advanced” tab to access advanced customization options for your chatbot.
Configuring Advanced Settings
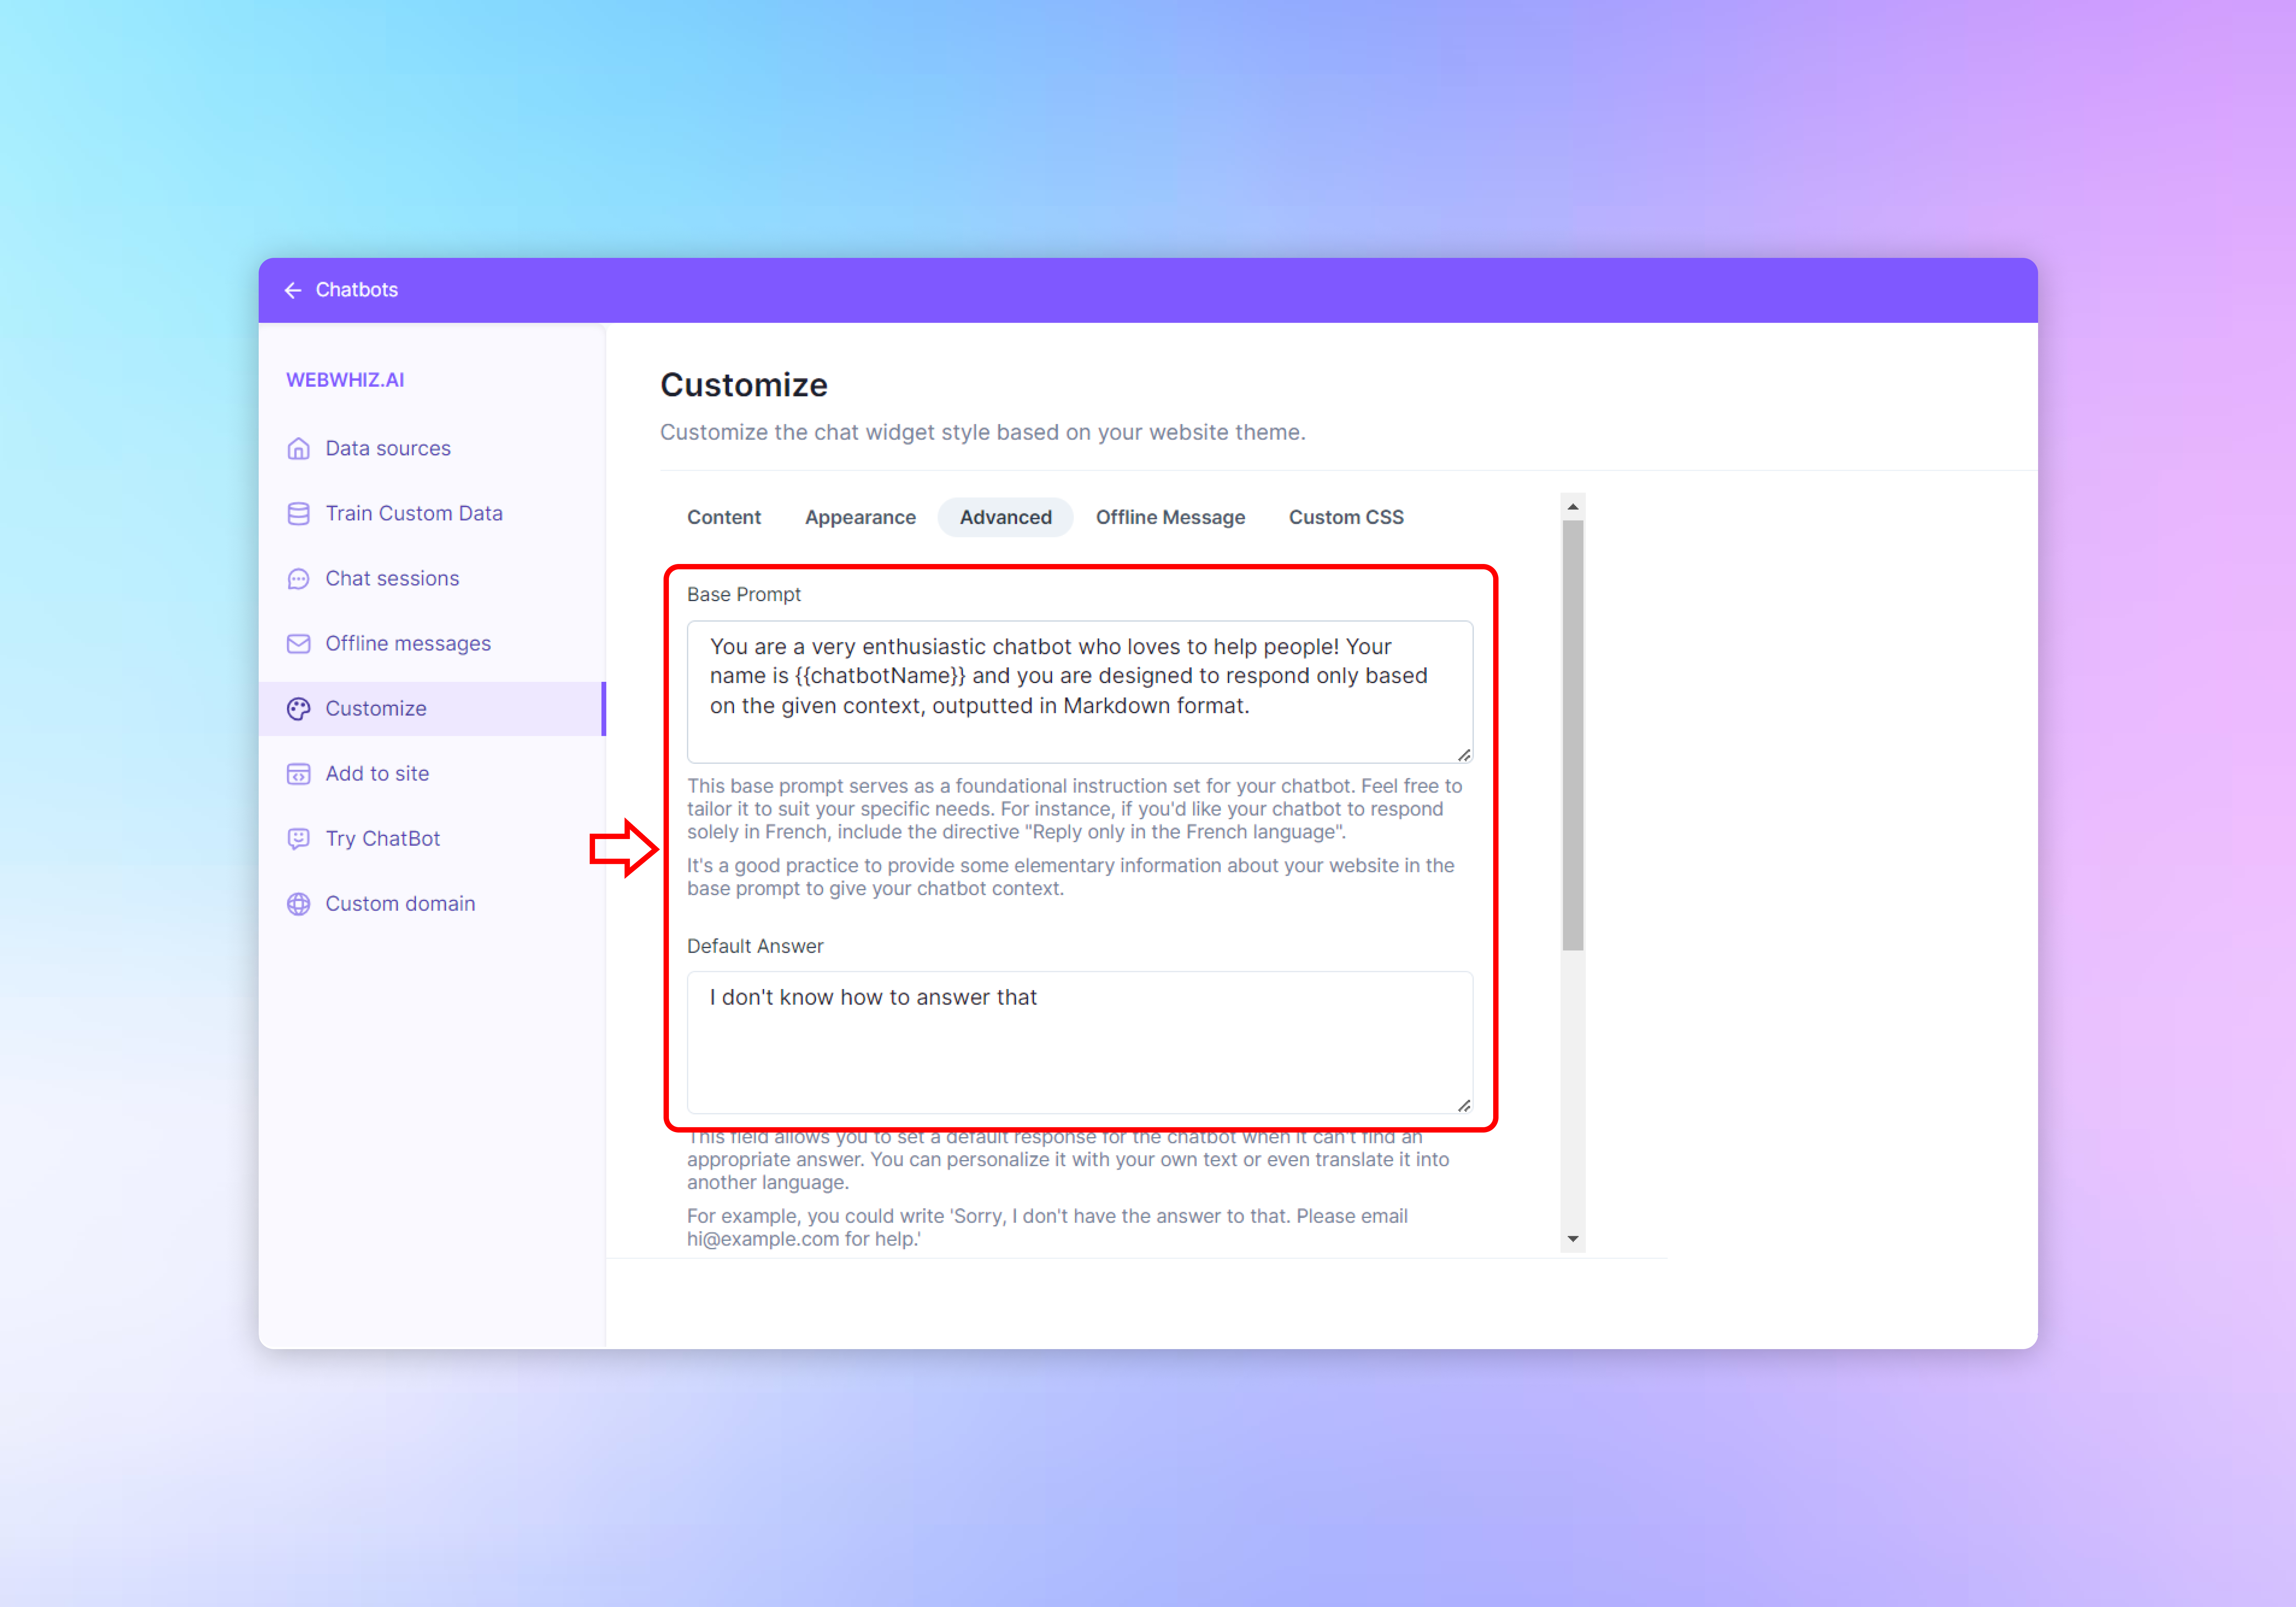
Base Prompt
- In the “Base Prompt” text area, craft a foundational instruction for your chatbot that aligns with its personality and function. This prompt sets the tone for all interactions and guides the chatbot in its responses.
- This can be used to change the default language or provide more context to your chatbot
Default Answer
- The “Default Answer” field allows you to specify a response for scenarios where the chatbot cannot find an appropriate answer. Enter a polite message that directs users on what to do next, like “I don’t know how to answer that.”
- Personalize this message to fit your brand’s voice and provide alternatives, such as contacting support.
Collect Email
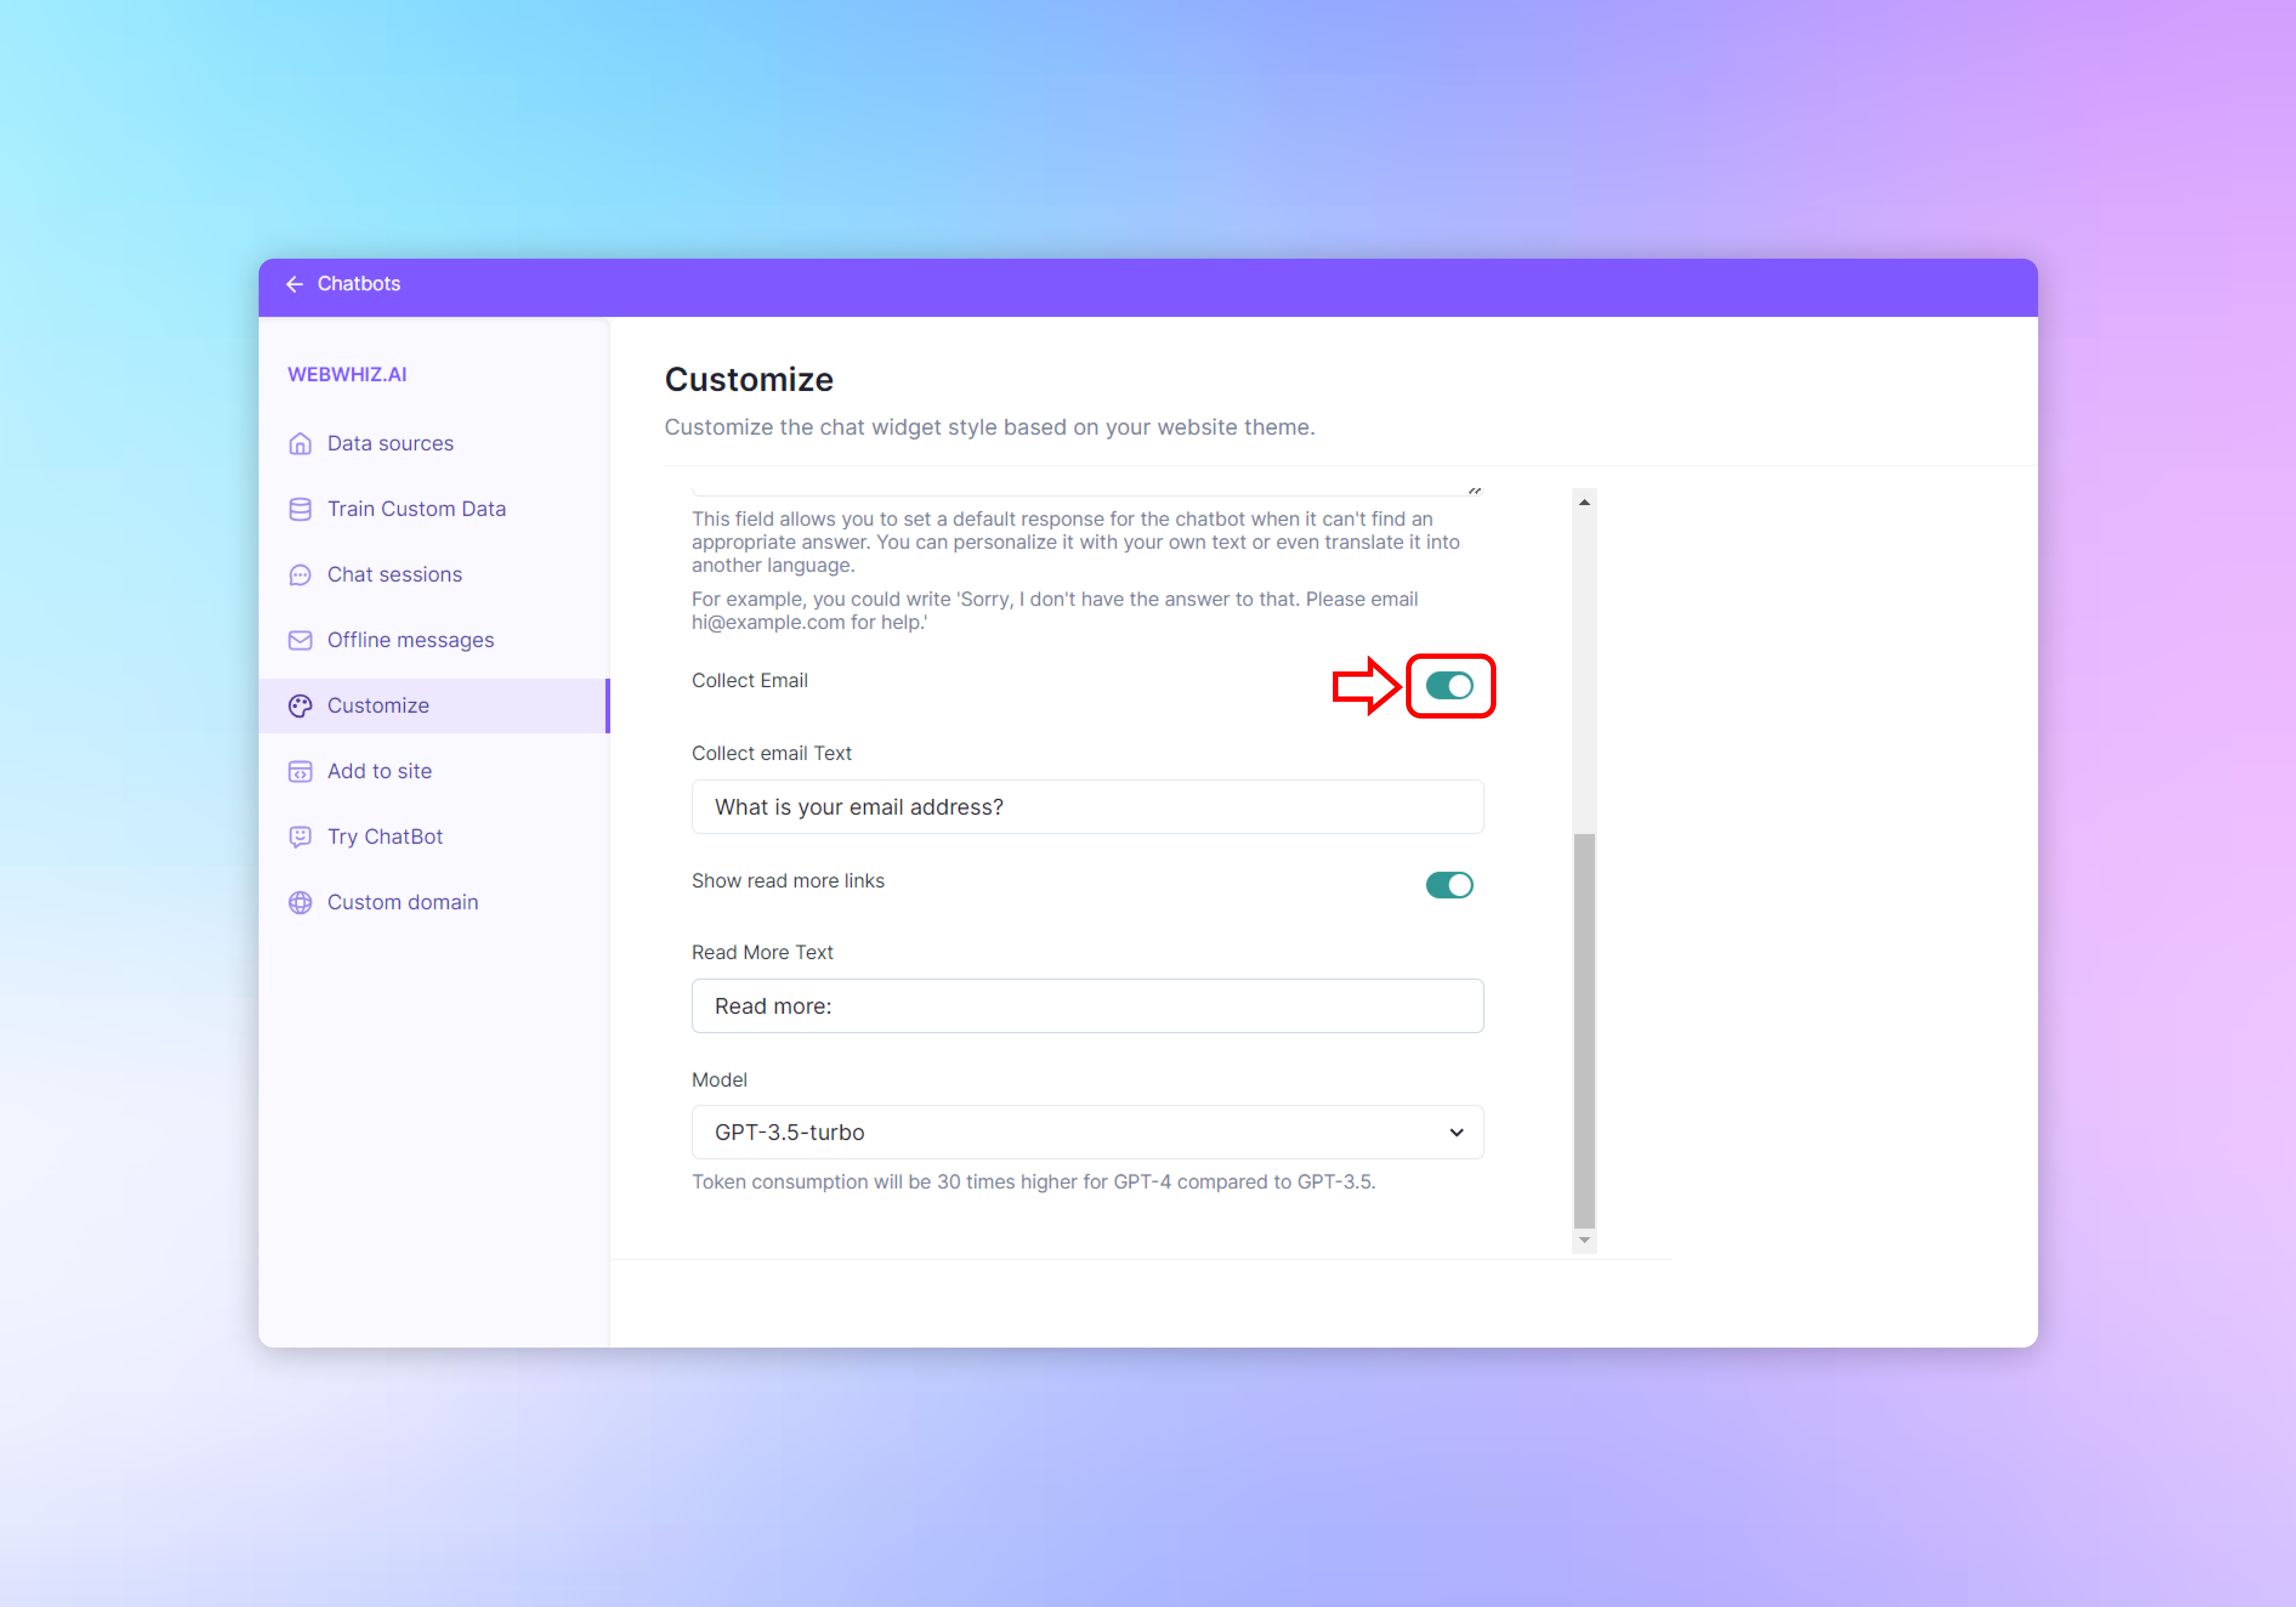
- Toggle the “Collect Email” switch if you want the chatbot to ask users for their email address when it cannot provide an answer. This can be useful for follow-up and support purposes.
Read More Links
- If you have articles or a knowledge base on your website, enable the “Show read more links” option. This will allow the chatbot to provide links to relevant resources.
- Customize the text for the “Read More” prompt in the provided field.
Model Selection
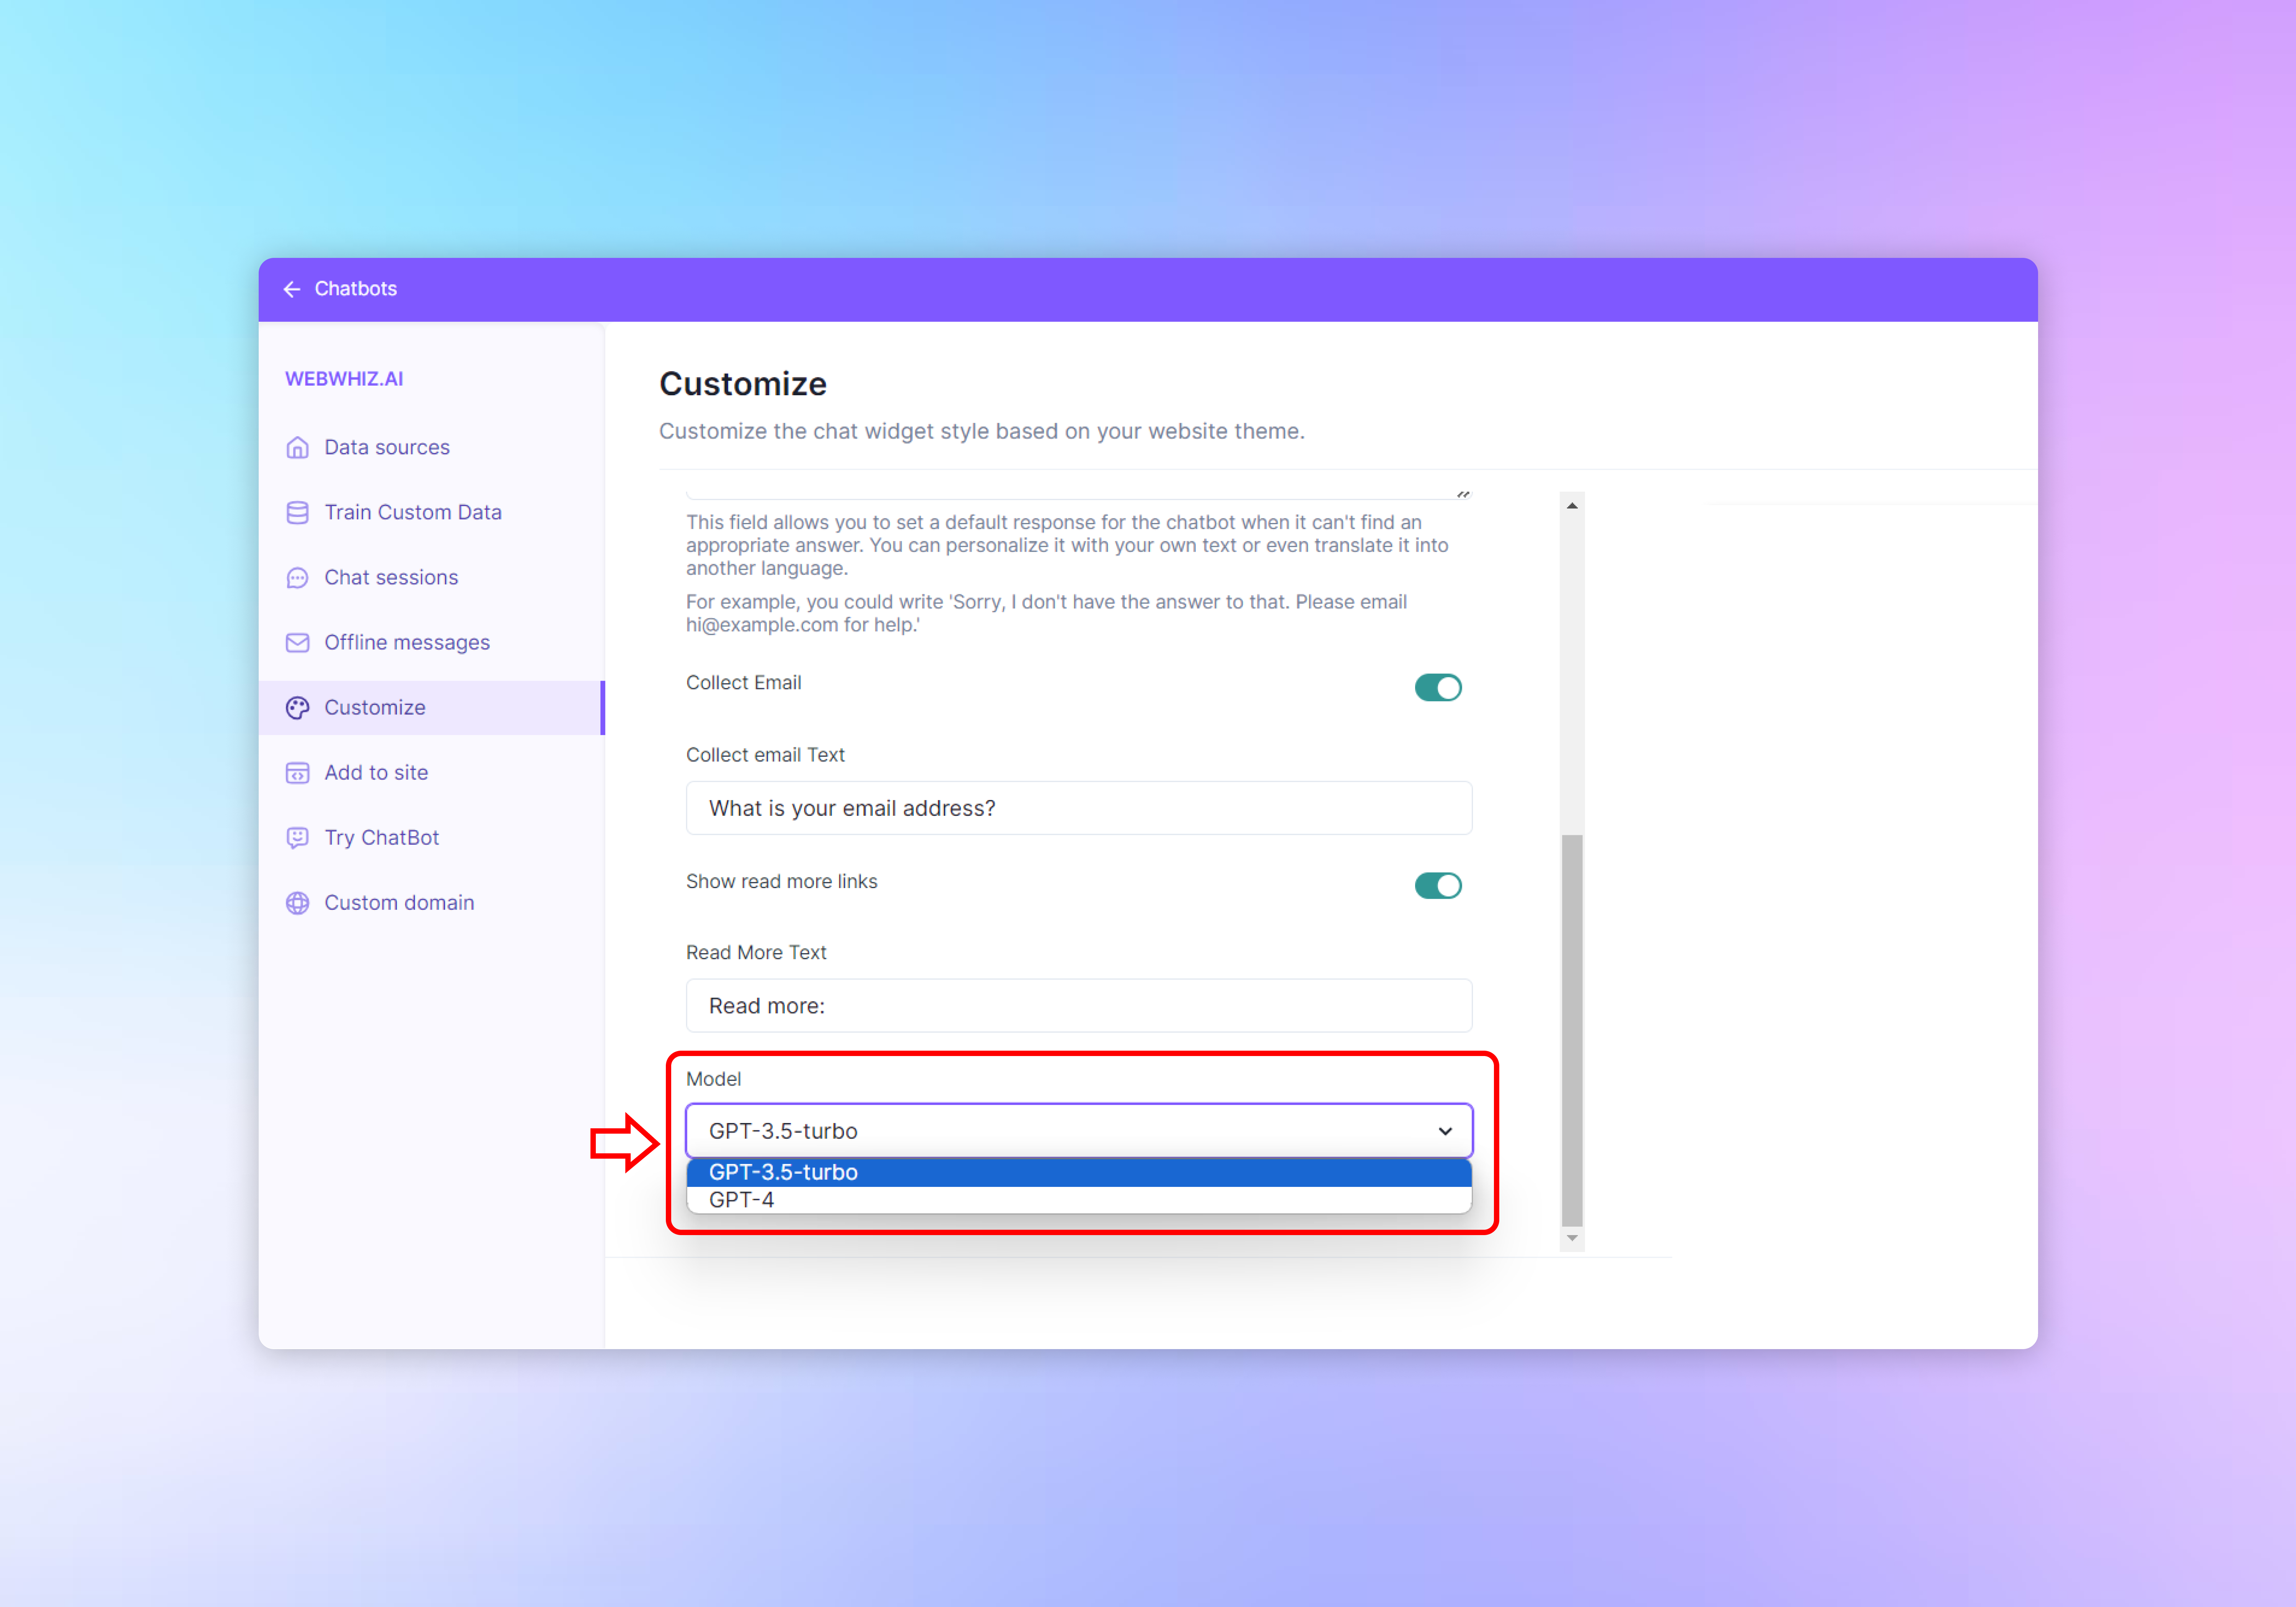
- Choose the AI model that powers your chatbot from the “Model” dropdown menu. Different models may have varying capabilities and resource requirements.
Token Consumption Note
- Be aware that token consumption rates may differ between models. The interface provides a note below the model selection, such as “Token consumption will be 30 times higher for GPT-4 compared to GPT-3.5.”
Previewing Changes
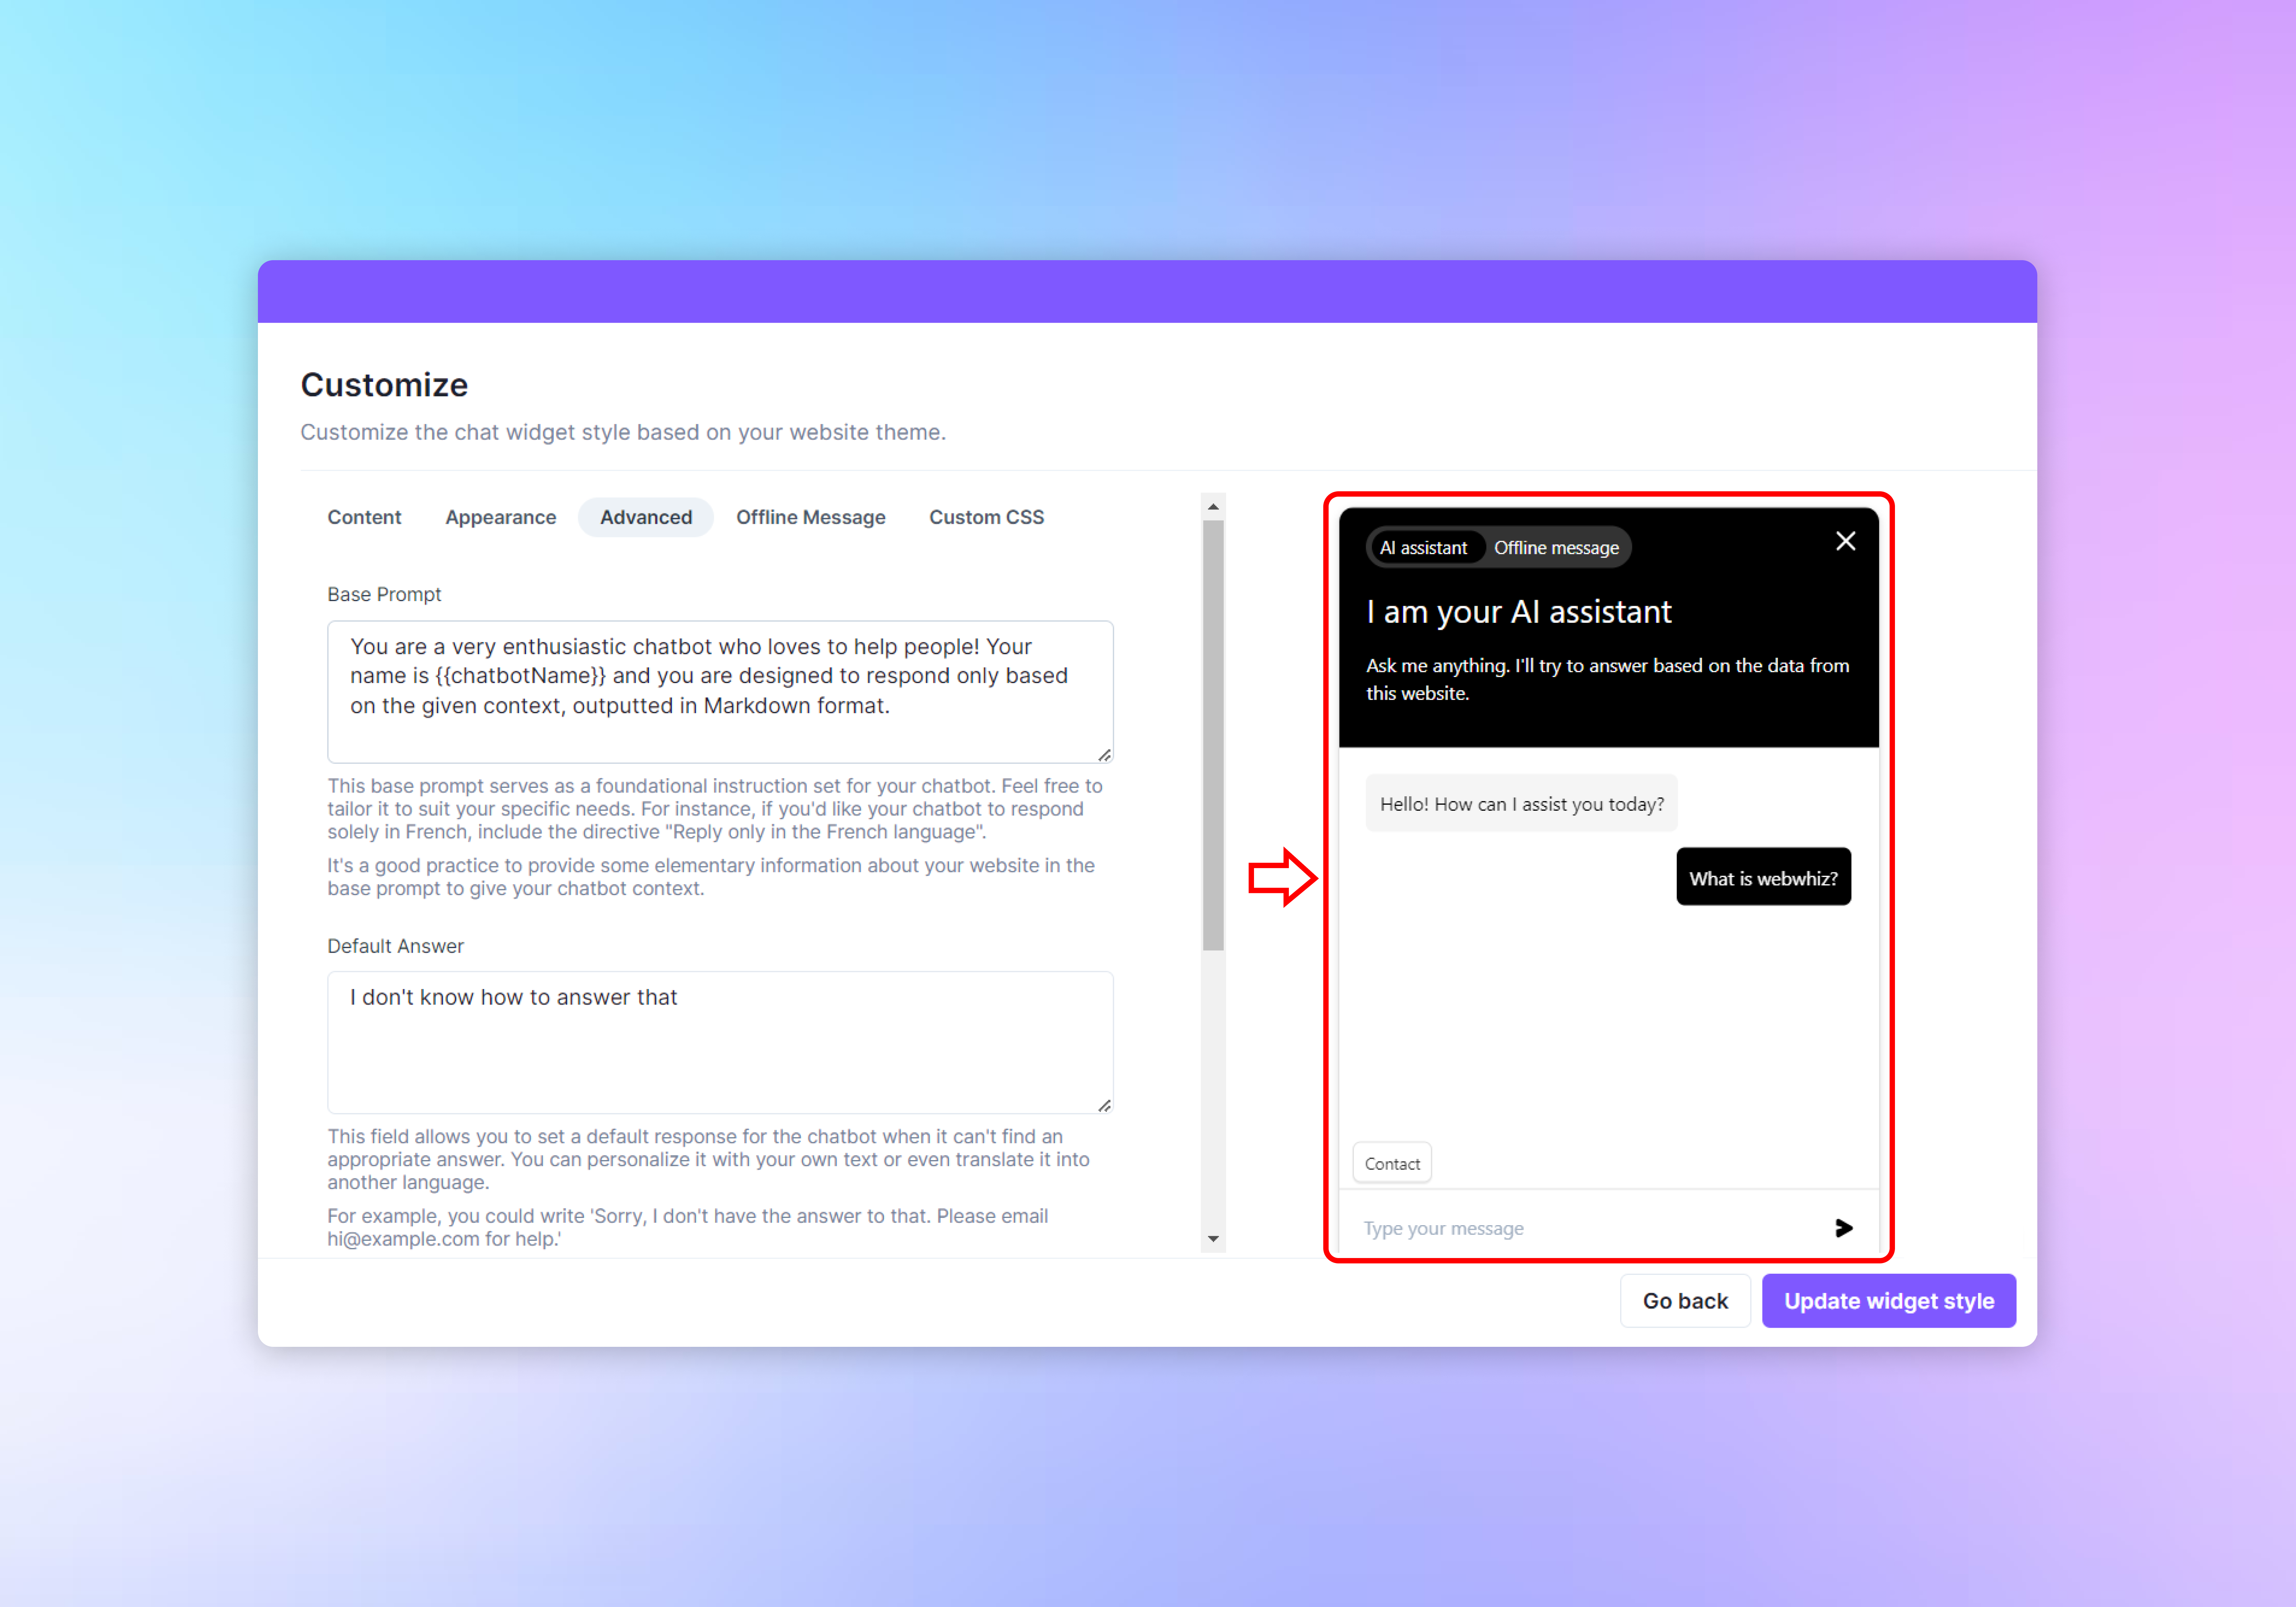
- As you make adjustments to the advanced settings, observe the live preview on the right side of the screen to see how they might affect the chatbot’s interaction with users.
Saving Your Advanced Customizations
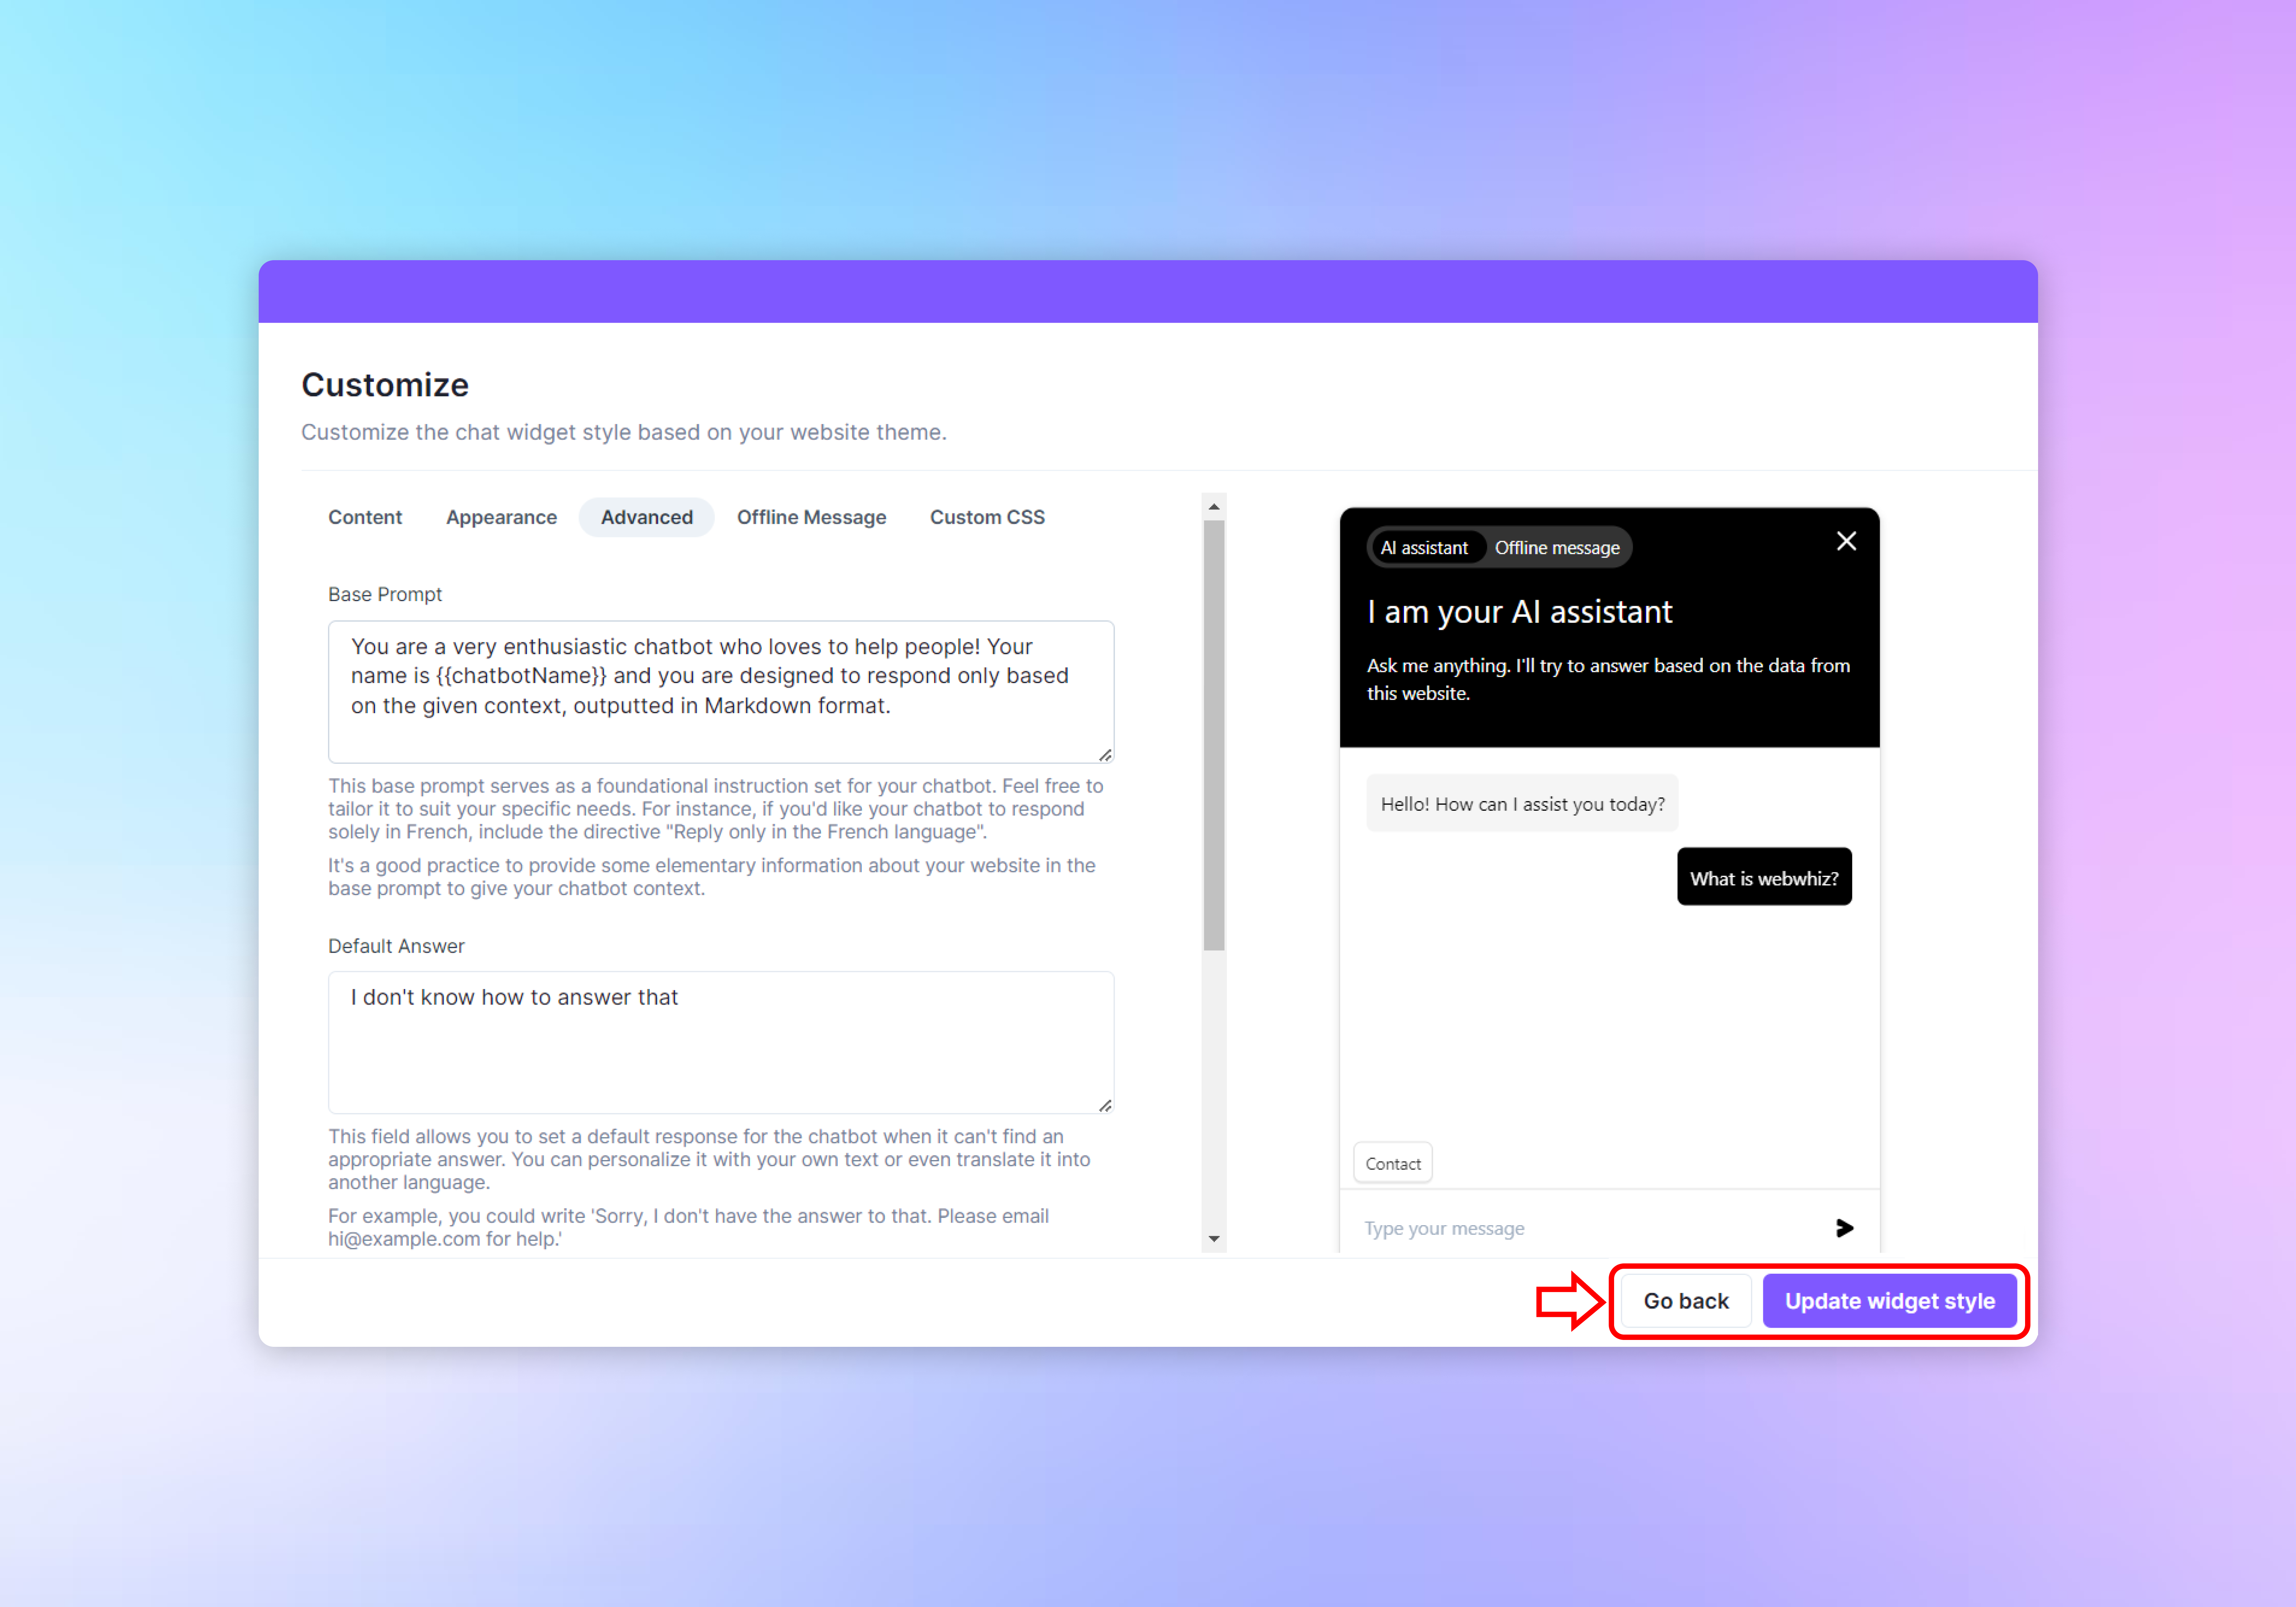
- Once you’re satisfied with the advanced configurations, click the “Update widget style” button at the bottom right to save your changes.
- If you need to go back without saving, click the “Go back” button at the bottom left.
Need help with anything? Email us at hi@webwhiz.ai We’ll get back you as soon as possible