Customizing Your Chatbot Interface
This guide will help you navigate and personalize the chatbot widget on your website using the “Customize” feature so it aligns with your brand and enhances user experience.
Accessing the Customize Feature

- Log into your chatbot dashboard.
- From the left-hand navigation menu, click on “Customize.” This will bring you to a page where you can adjust various settings related to the appearance and functionality of your chatbot.
Customizing Chatbot Appearance
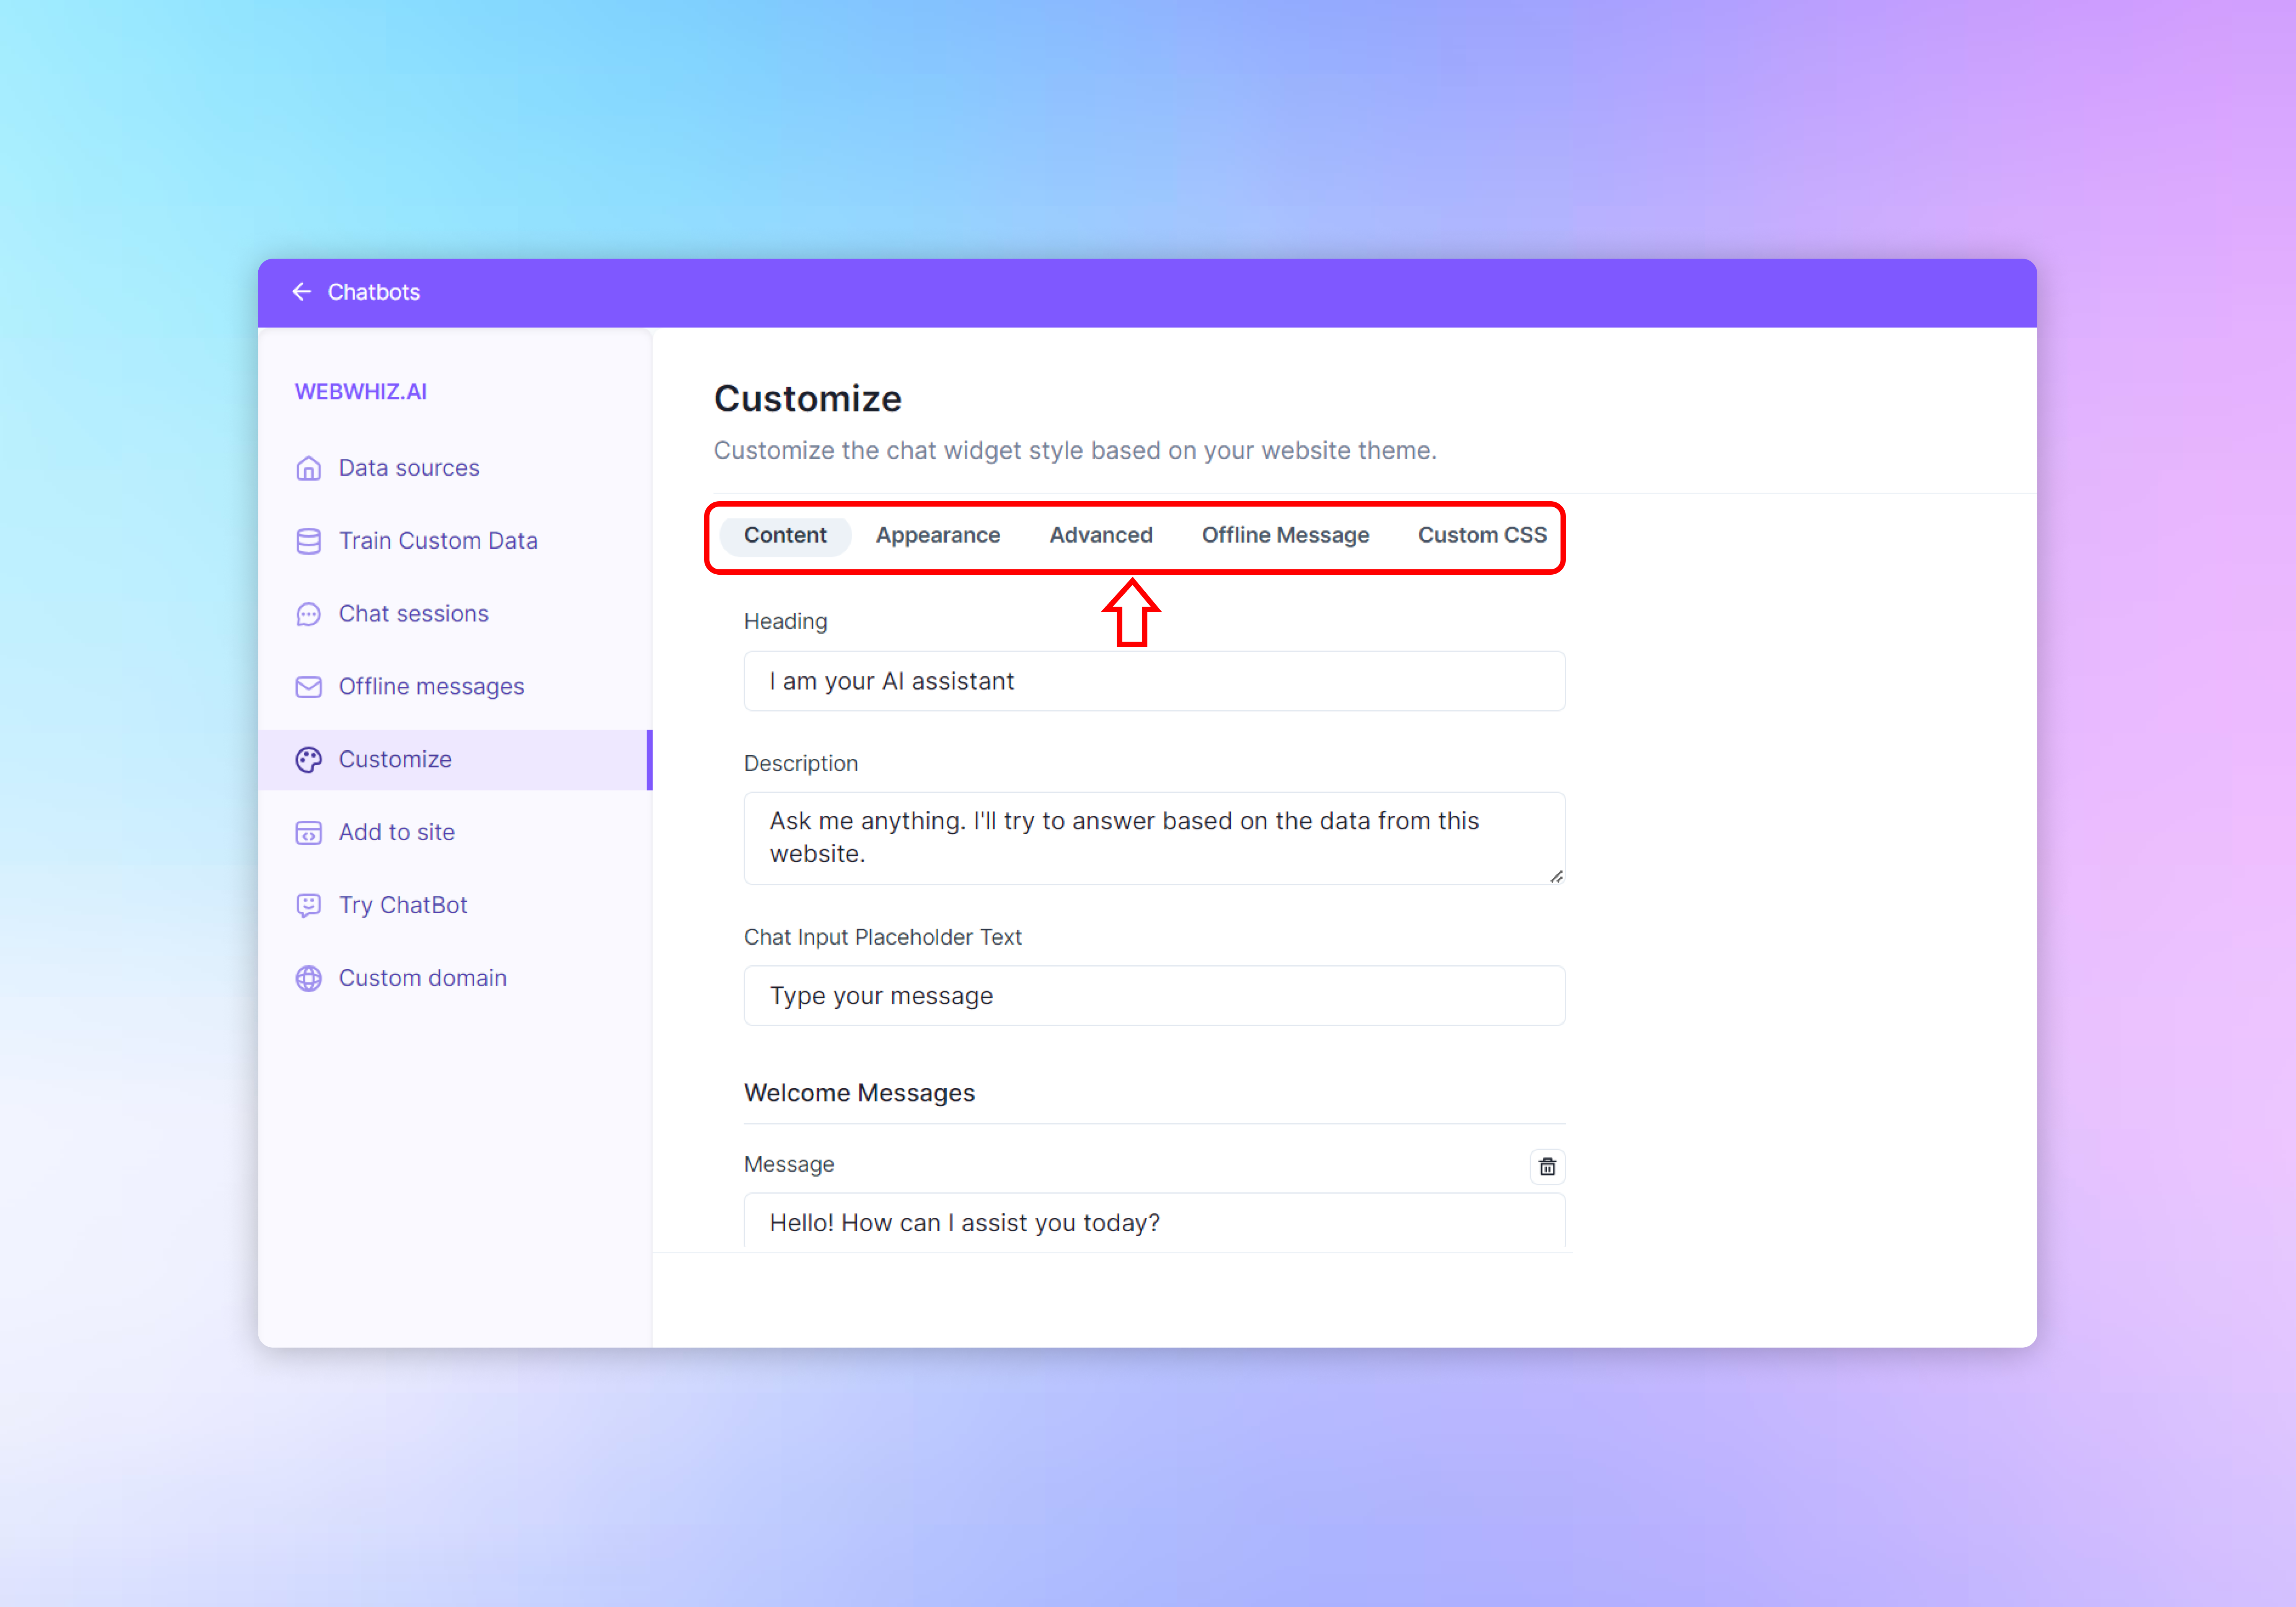
The customization page is divided into multiple tabs: Content, Appearance, Advanced, Offline Message, and Custom CSS. We’ll focus on the Content tab for this guide.
Content Tab
In the Content tab, you can modify the text that users will see when interacting with the chatbot:
Heading
- Enter a heading in the “Heading” field. This text is the first thing users will see, typically at the top of the chat widget. For example, “I am your AI assistant.”
Description
- Provide a description in the “Description” field. This should give users more context about the chatbot’s capabilities, like “Ask me anything. I’ll try to answer based on the data from this website.”
Chat Input Placeholder Text
- Customize the placeholder text in the chat input field by entering your desired text in the “Chat Input Placeholder Text” box. This could be a prompt like “Type your message.”
Welcome Messages
- Add a welcome message that users will receive when they first interact with the chatbot. Click “Add welcome message” after typing your message in the field provided.
Additional Settings
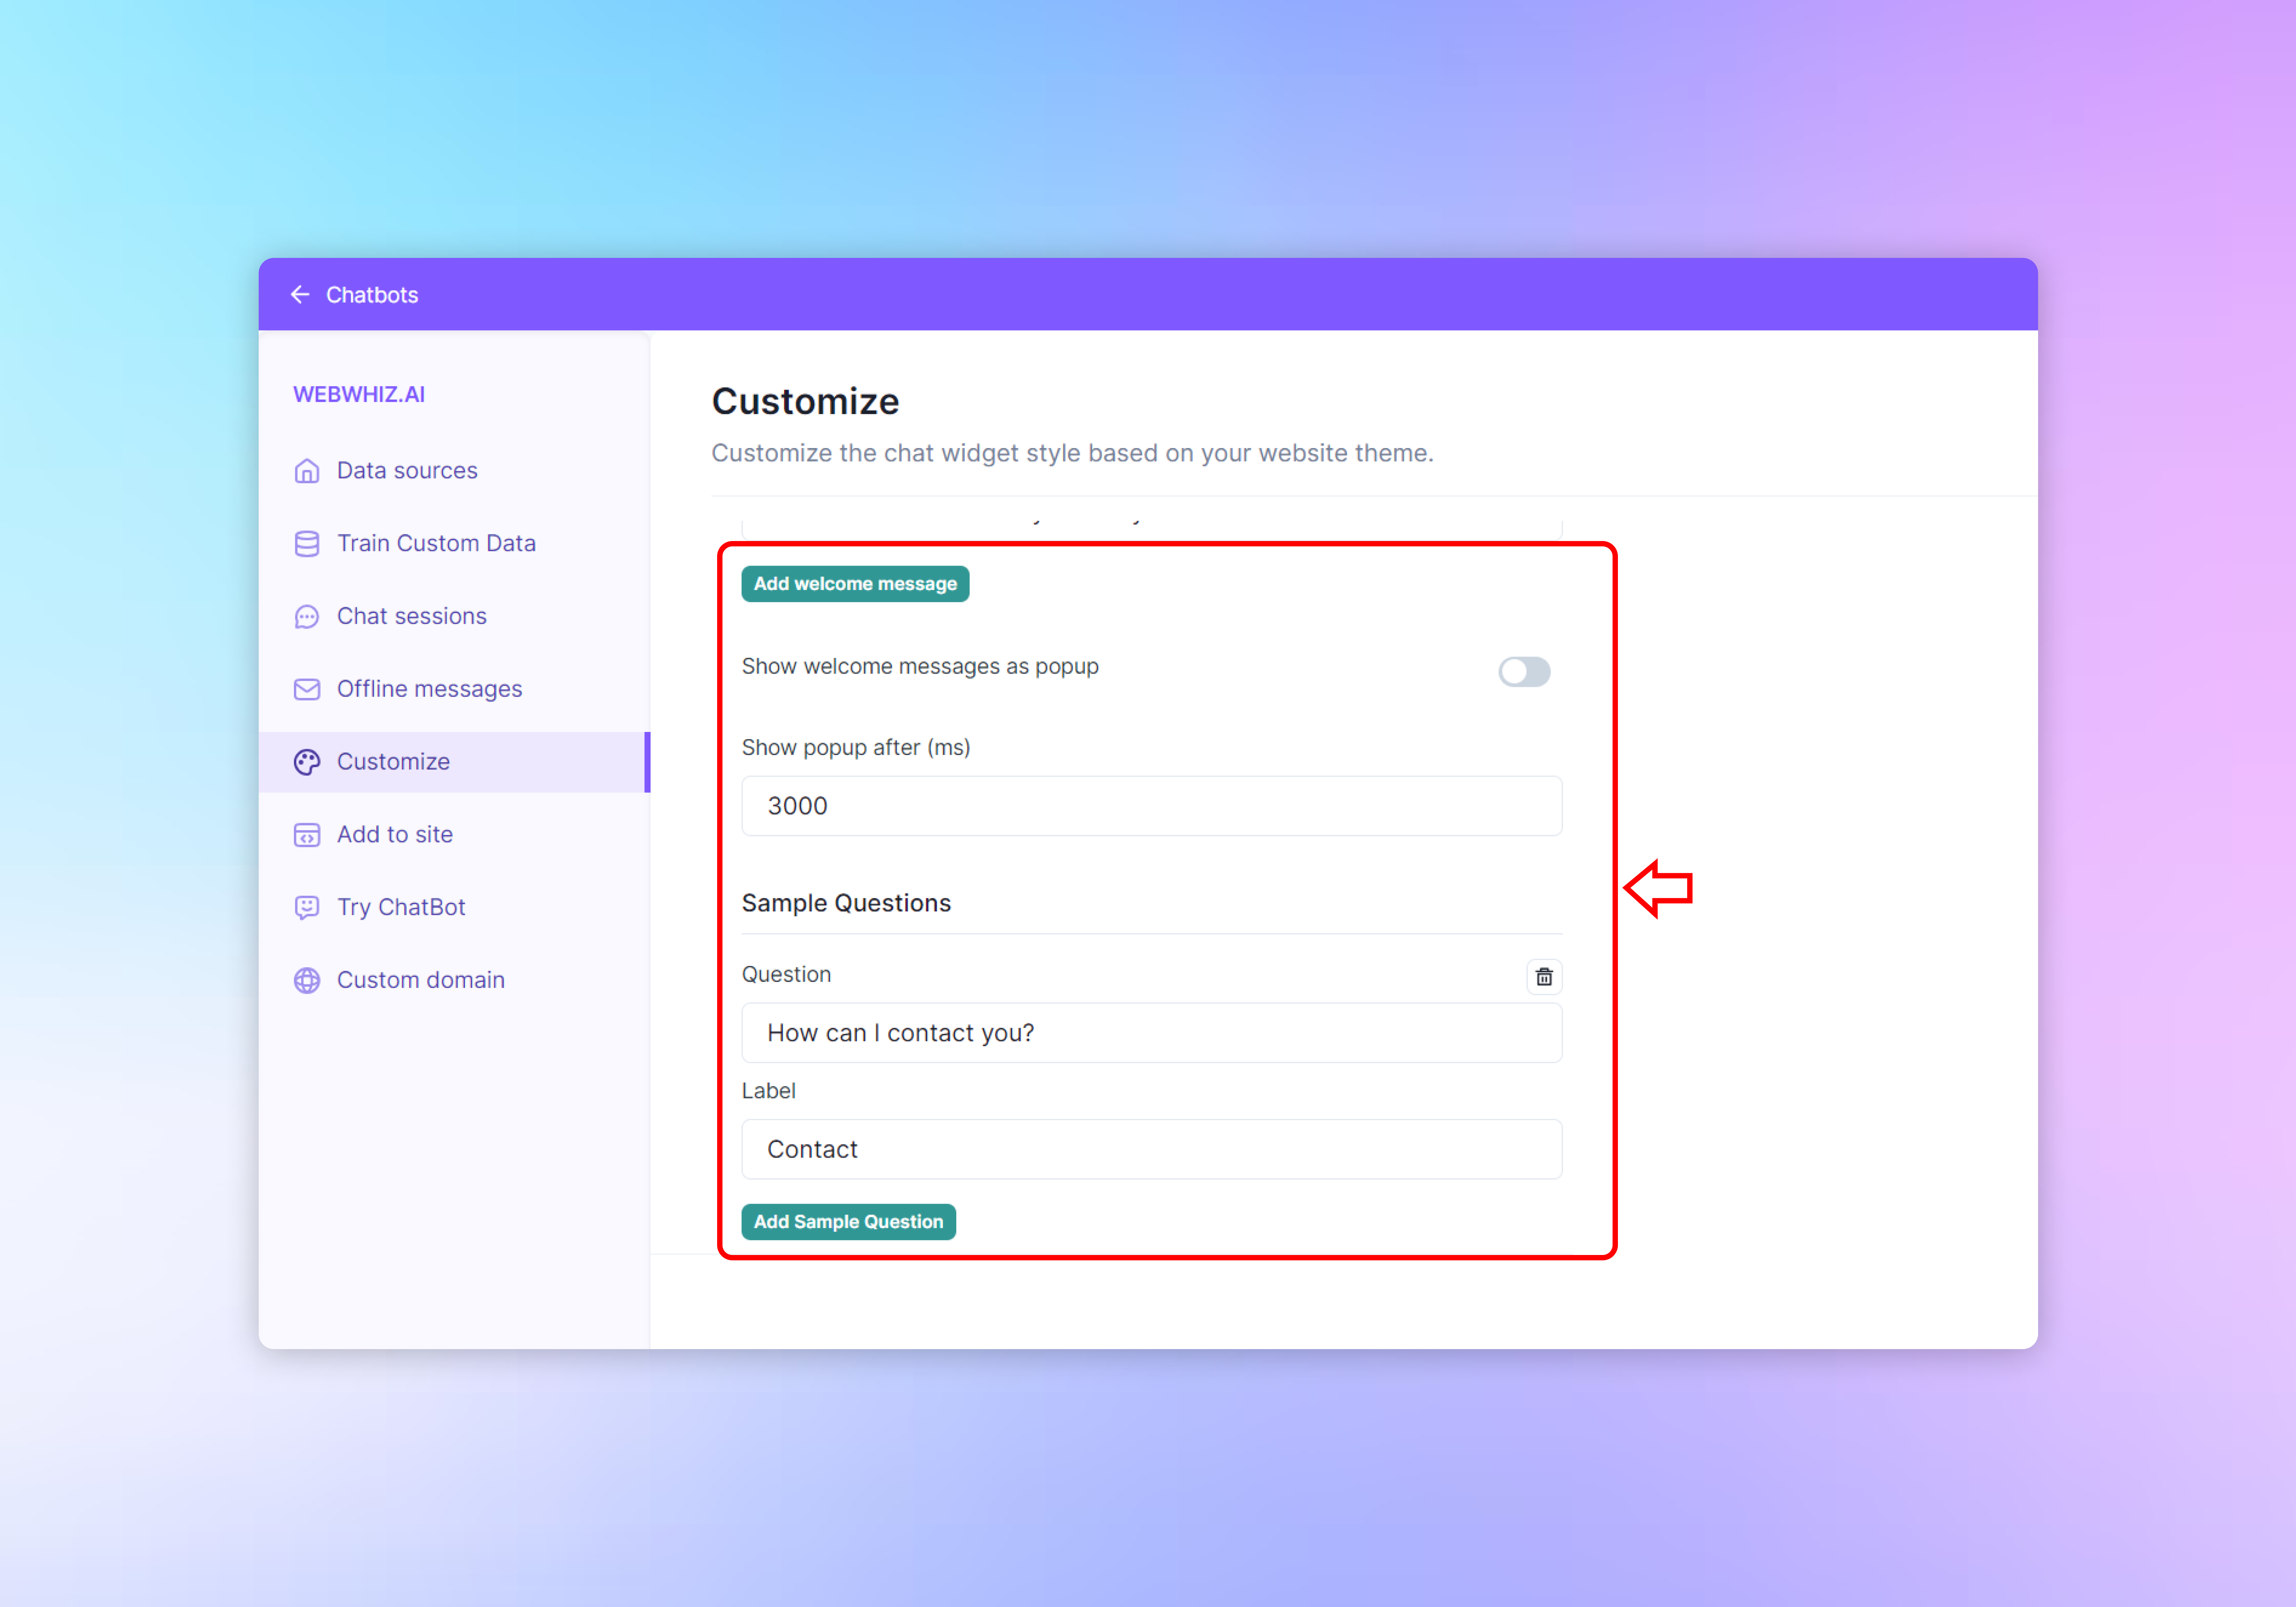
- Toggle “Show welcome messages as popup” if you want the welcome message to appear in a popup format.
- Set a delay for the popup to appear after the page loads by entering a value in milliseconds in the “Show popup after (ms)” field.
Sample Questions
- Add sample questions to guide users on what they can ask the chatbot. Enter the question in the “Question” field and a label for it in the “Label” field, then click “Add Sample Question.”
Previewing Changes
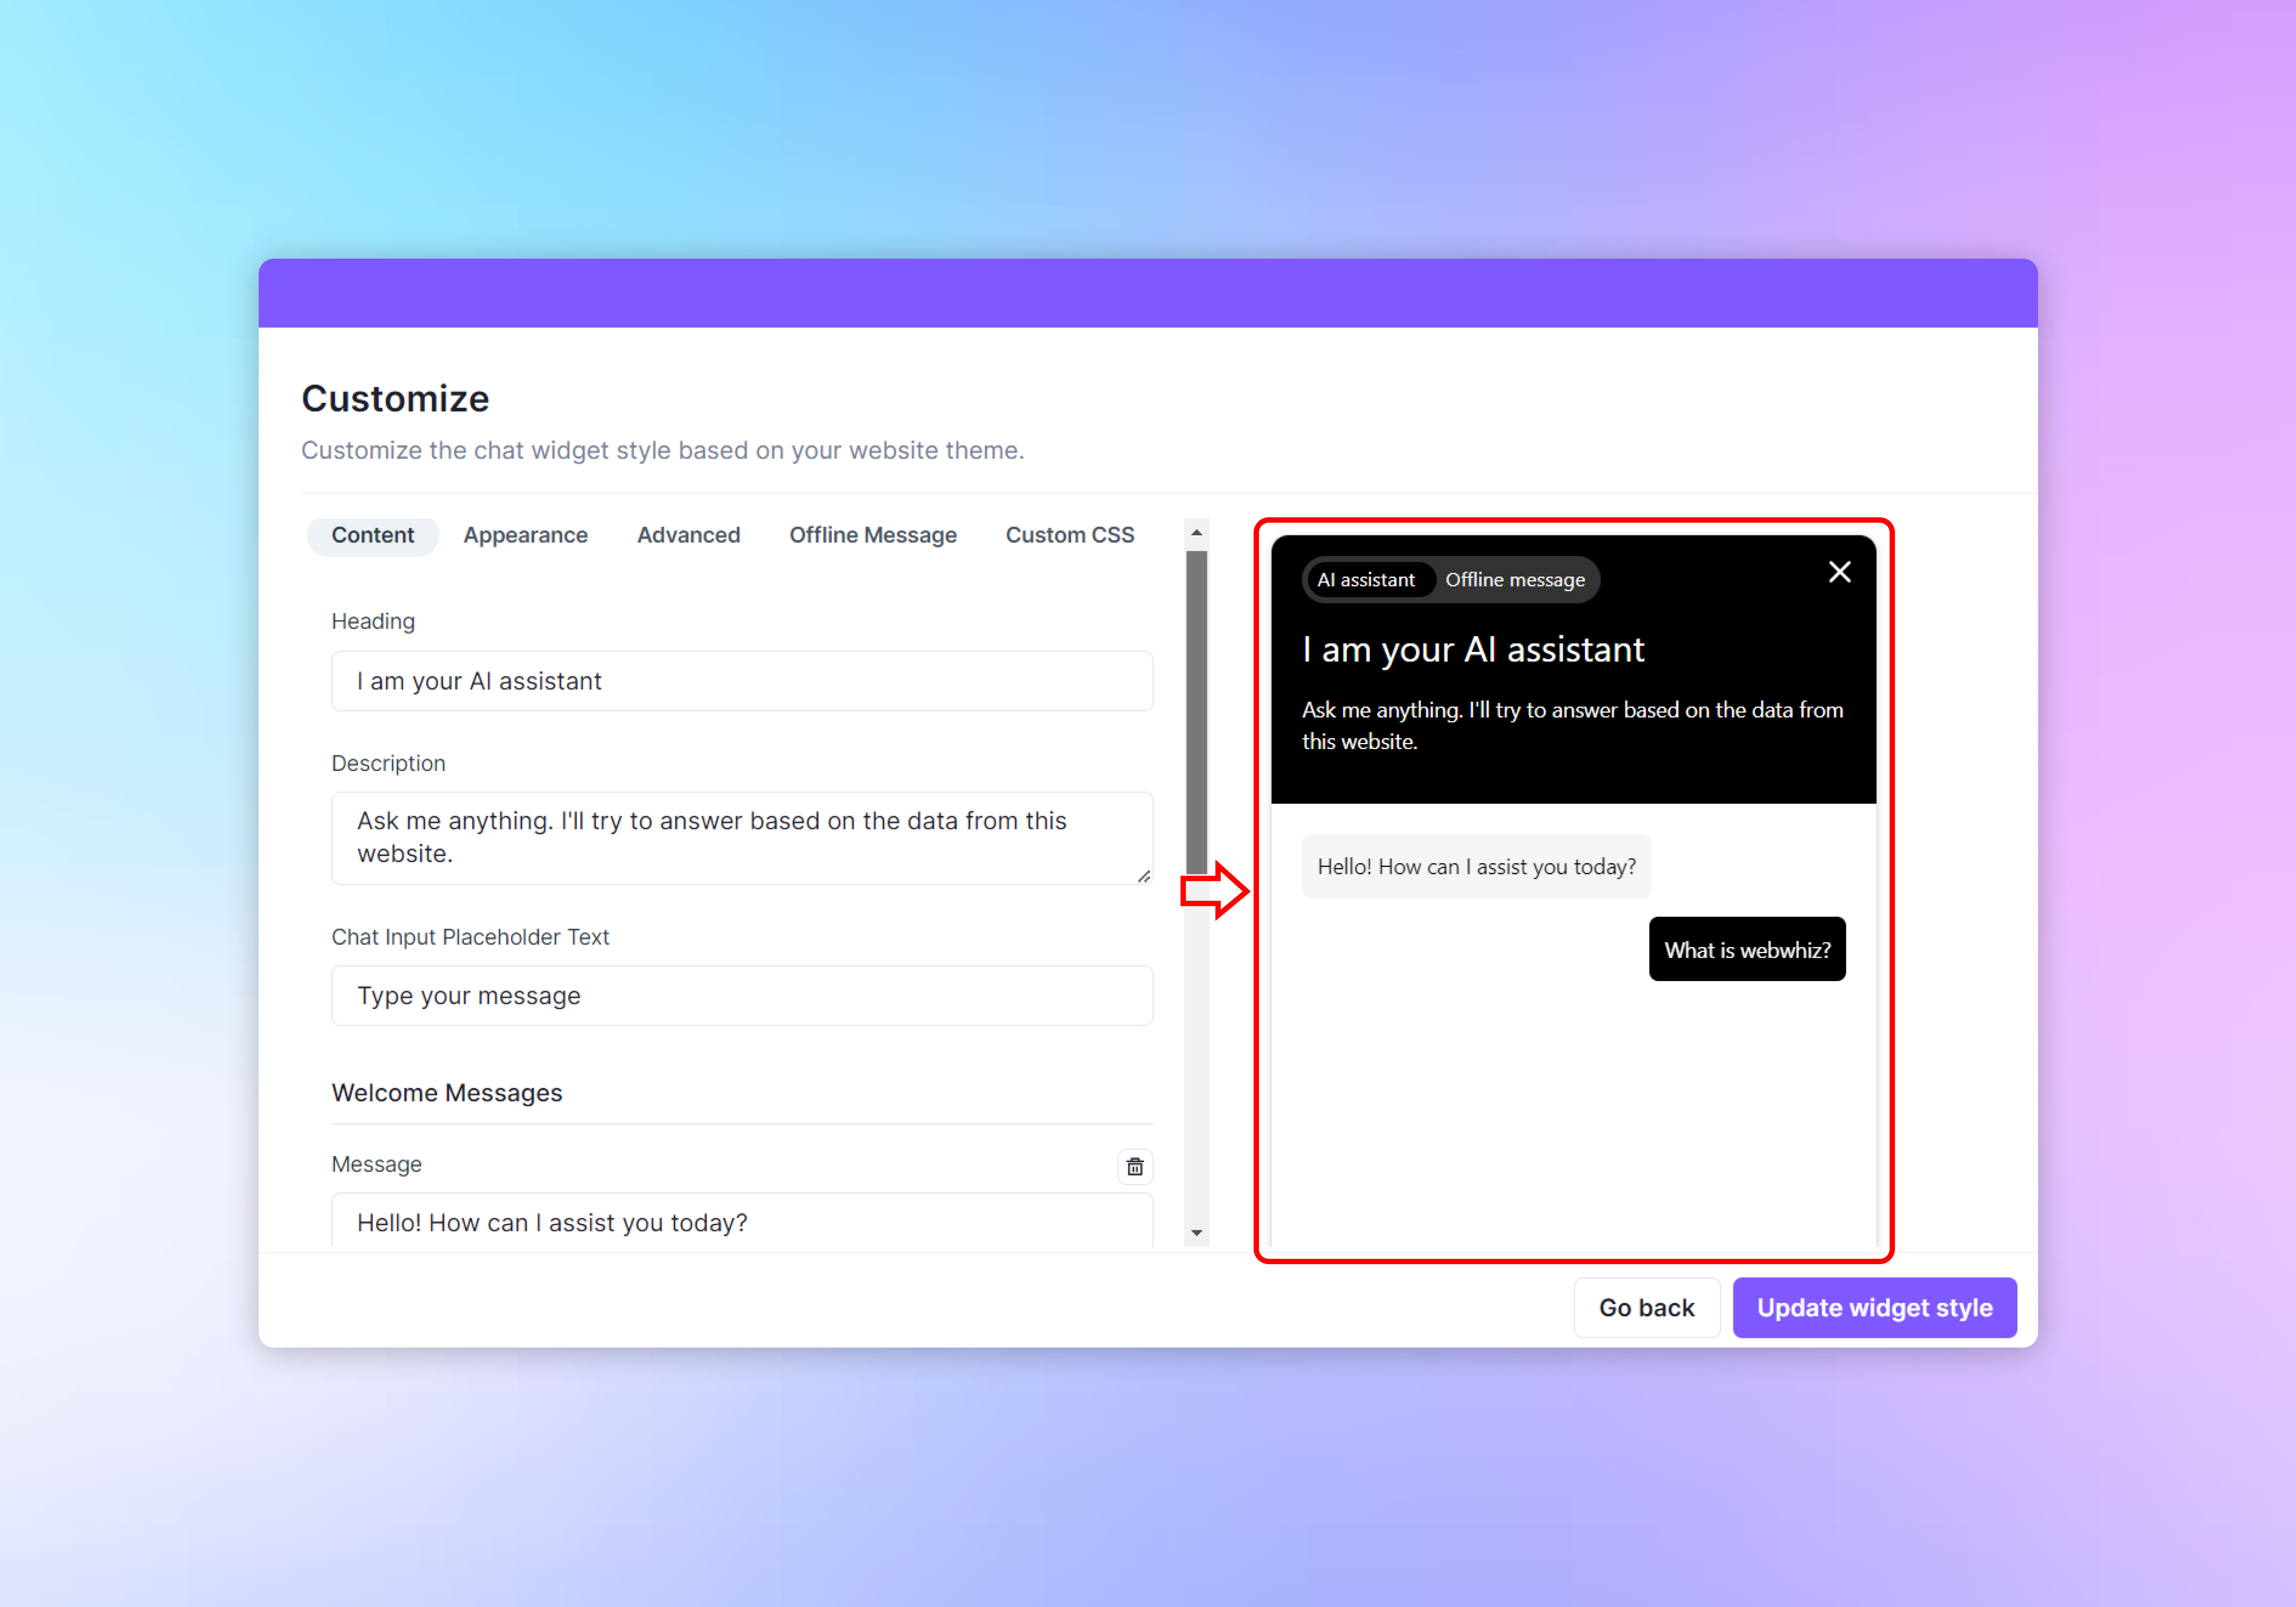
On the right side of the screen, you’ll see a live preview of the chatbot widget. As you make changes in the customization settings, this preview will update in real-time to reflect those changes.
Saving Your Customizations
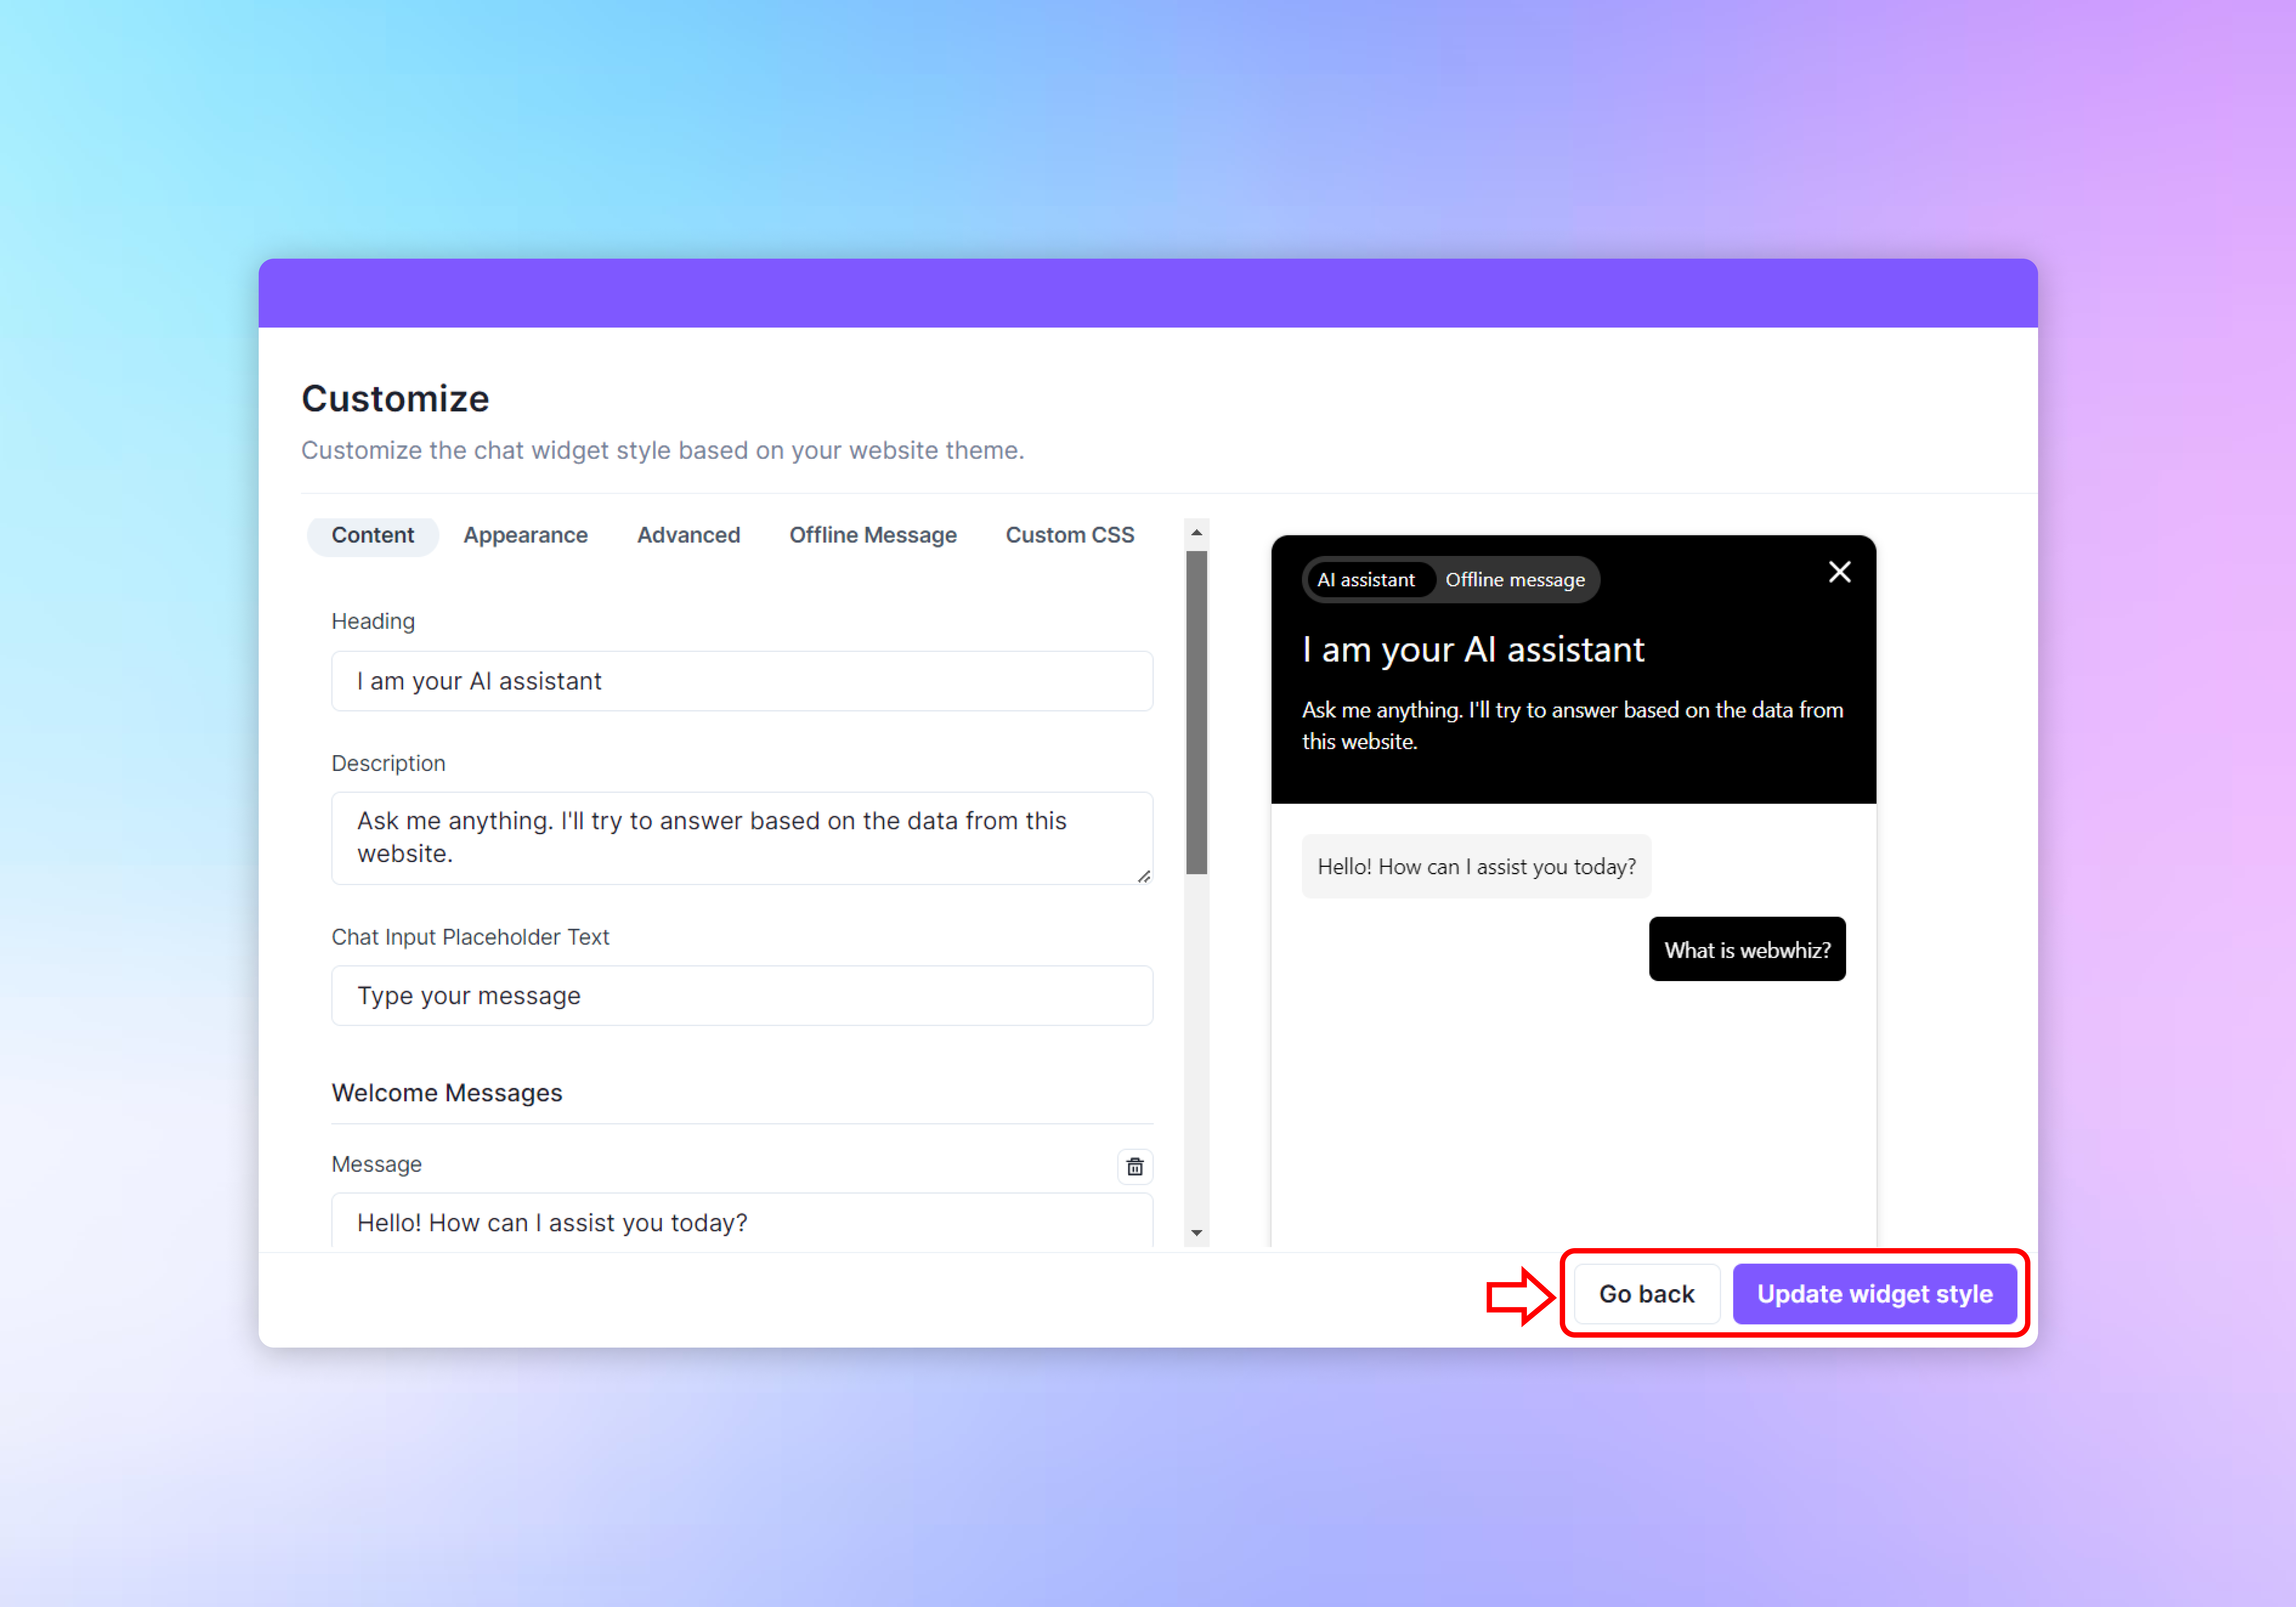
- Once you are satisfied with the customizations, click the “Update widget style” button at the bottom right of the page to apply the changes to your live chatbot widget.
- If you need to go back to the previous screen without saving, click the “Go back” button on the bottom left.
Conclusion
Customizing your chatbot is a vital step towards creating a cohesive and branded user experience on your website. Take advantage of the customization options to ensure that the chatbot feels like an integral part of your site. Remember to save your changes and regularly review the chatbot’s performance and appearance.
Need help with anything? Email us at hi@webwhiz.ai We’ll get back you as soon as possible