Configuring your OpenAI API Key
This guide will walk you through the process of updating your OpenAI API key in the WebWhiz settings.
Accessing API Key Settings
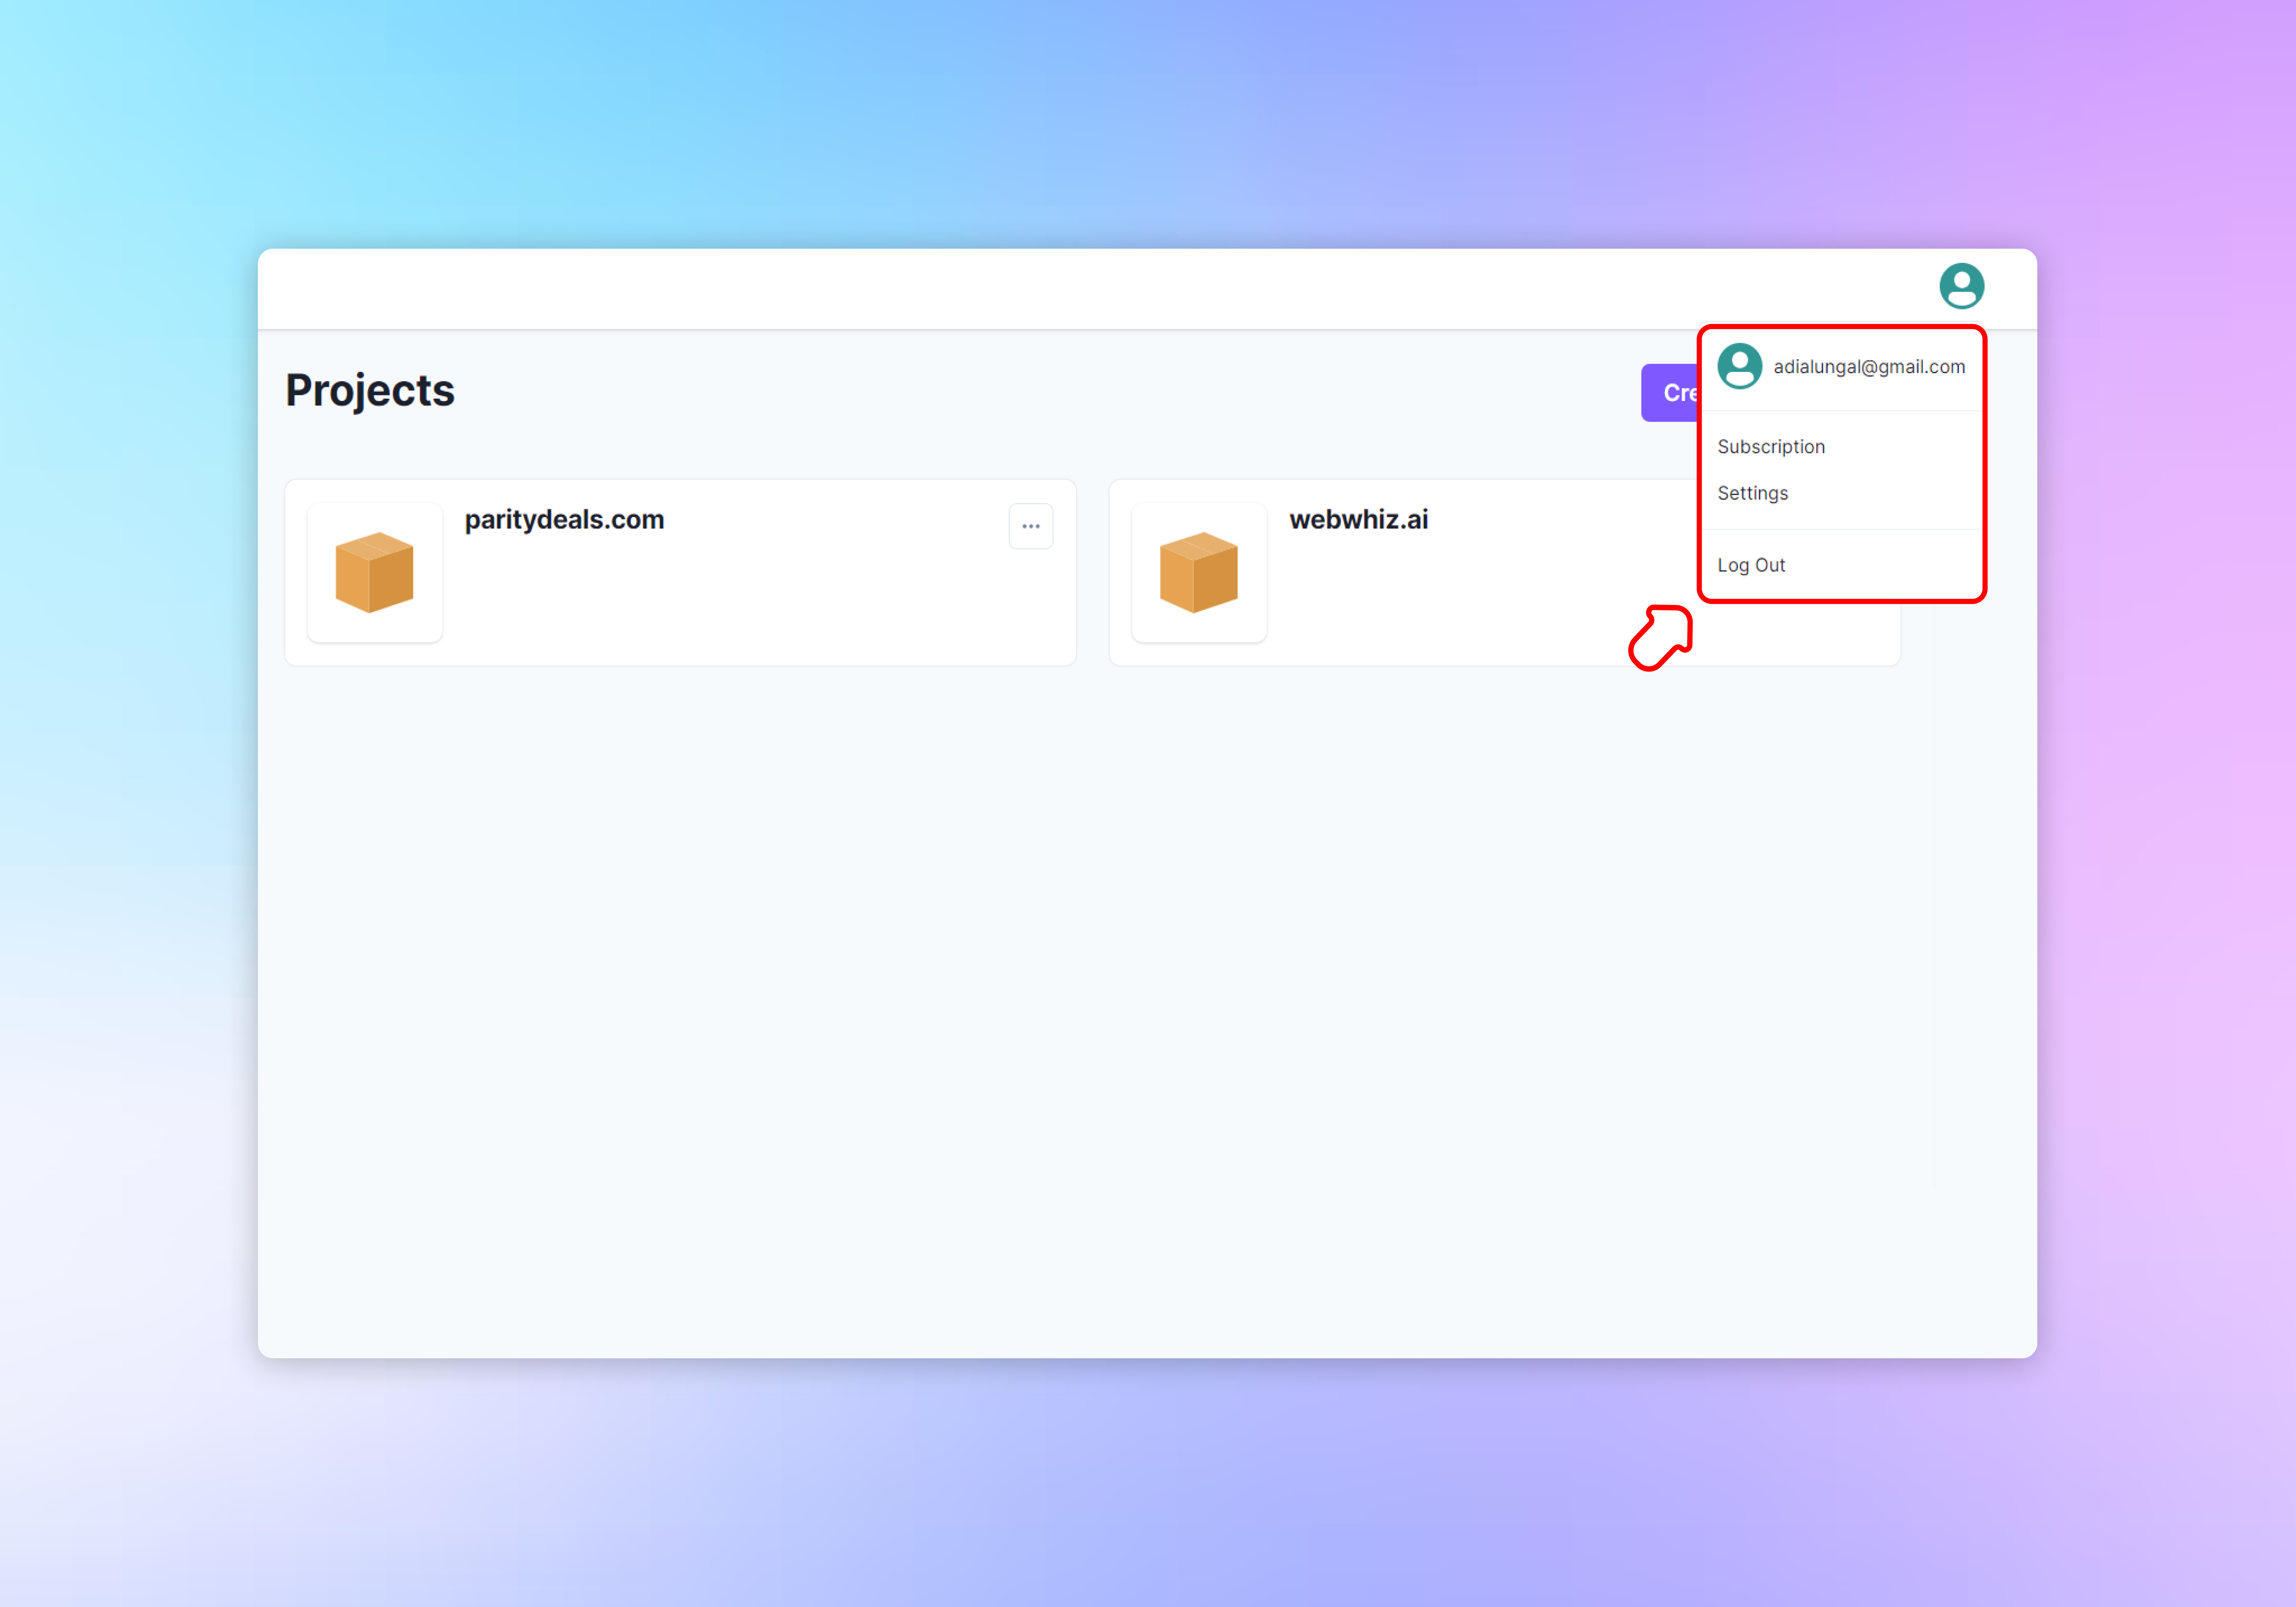
- Sign in to your WebWhiz account.
- On the dashboard, locate and click on the user avatar on the top right corner.
- Select the “Settings” tab to access general settings related to your account.
OpenAI API Key Configuration
If you wish to increase the token quota for each plan, you can bring your own API key. Additionally, using your own API key enables you to remove the webWhiz branding, assuming your plan supports this feature. It’s important to note that when you use your own OpenAI key, the token quota provided by webWhiz will not be utilized.
Entering or Replacing Your API Key
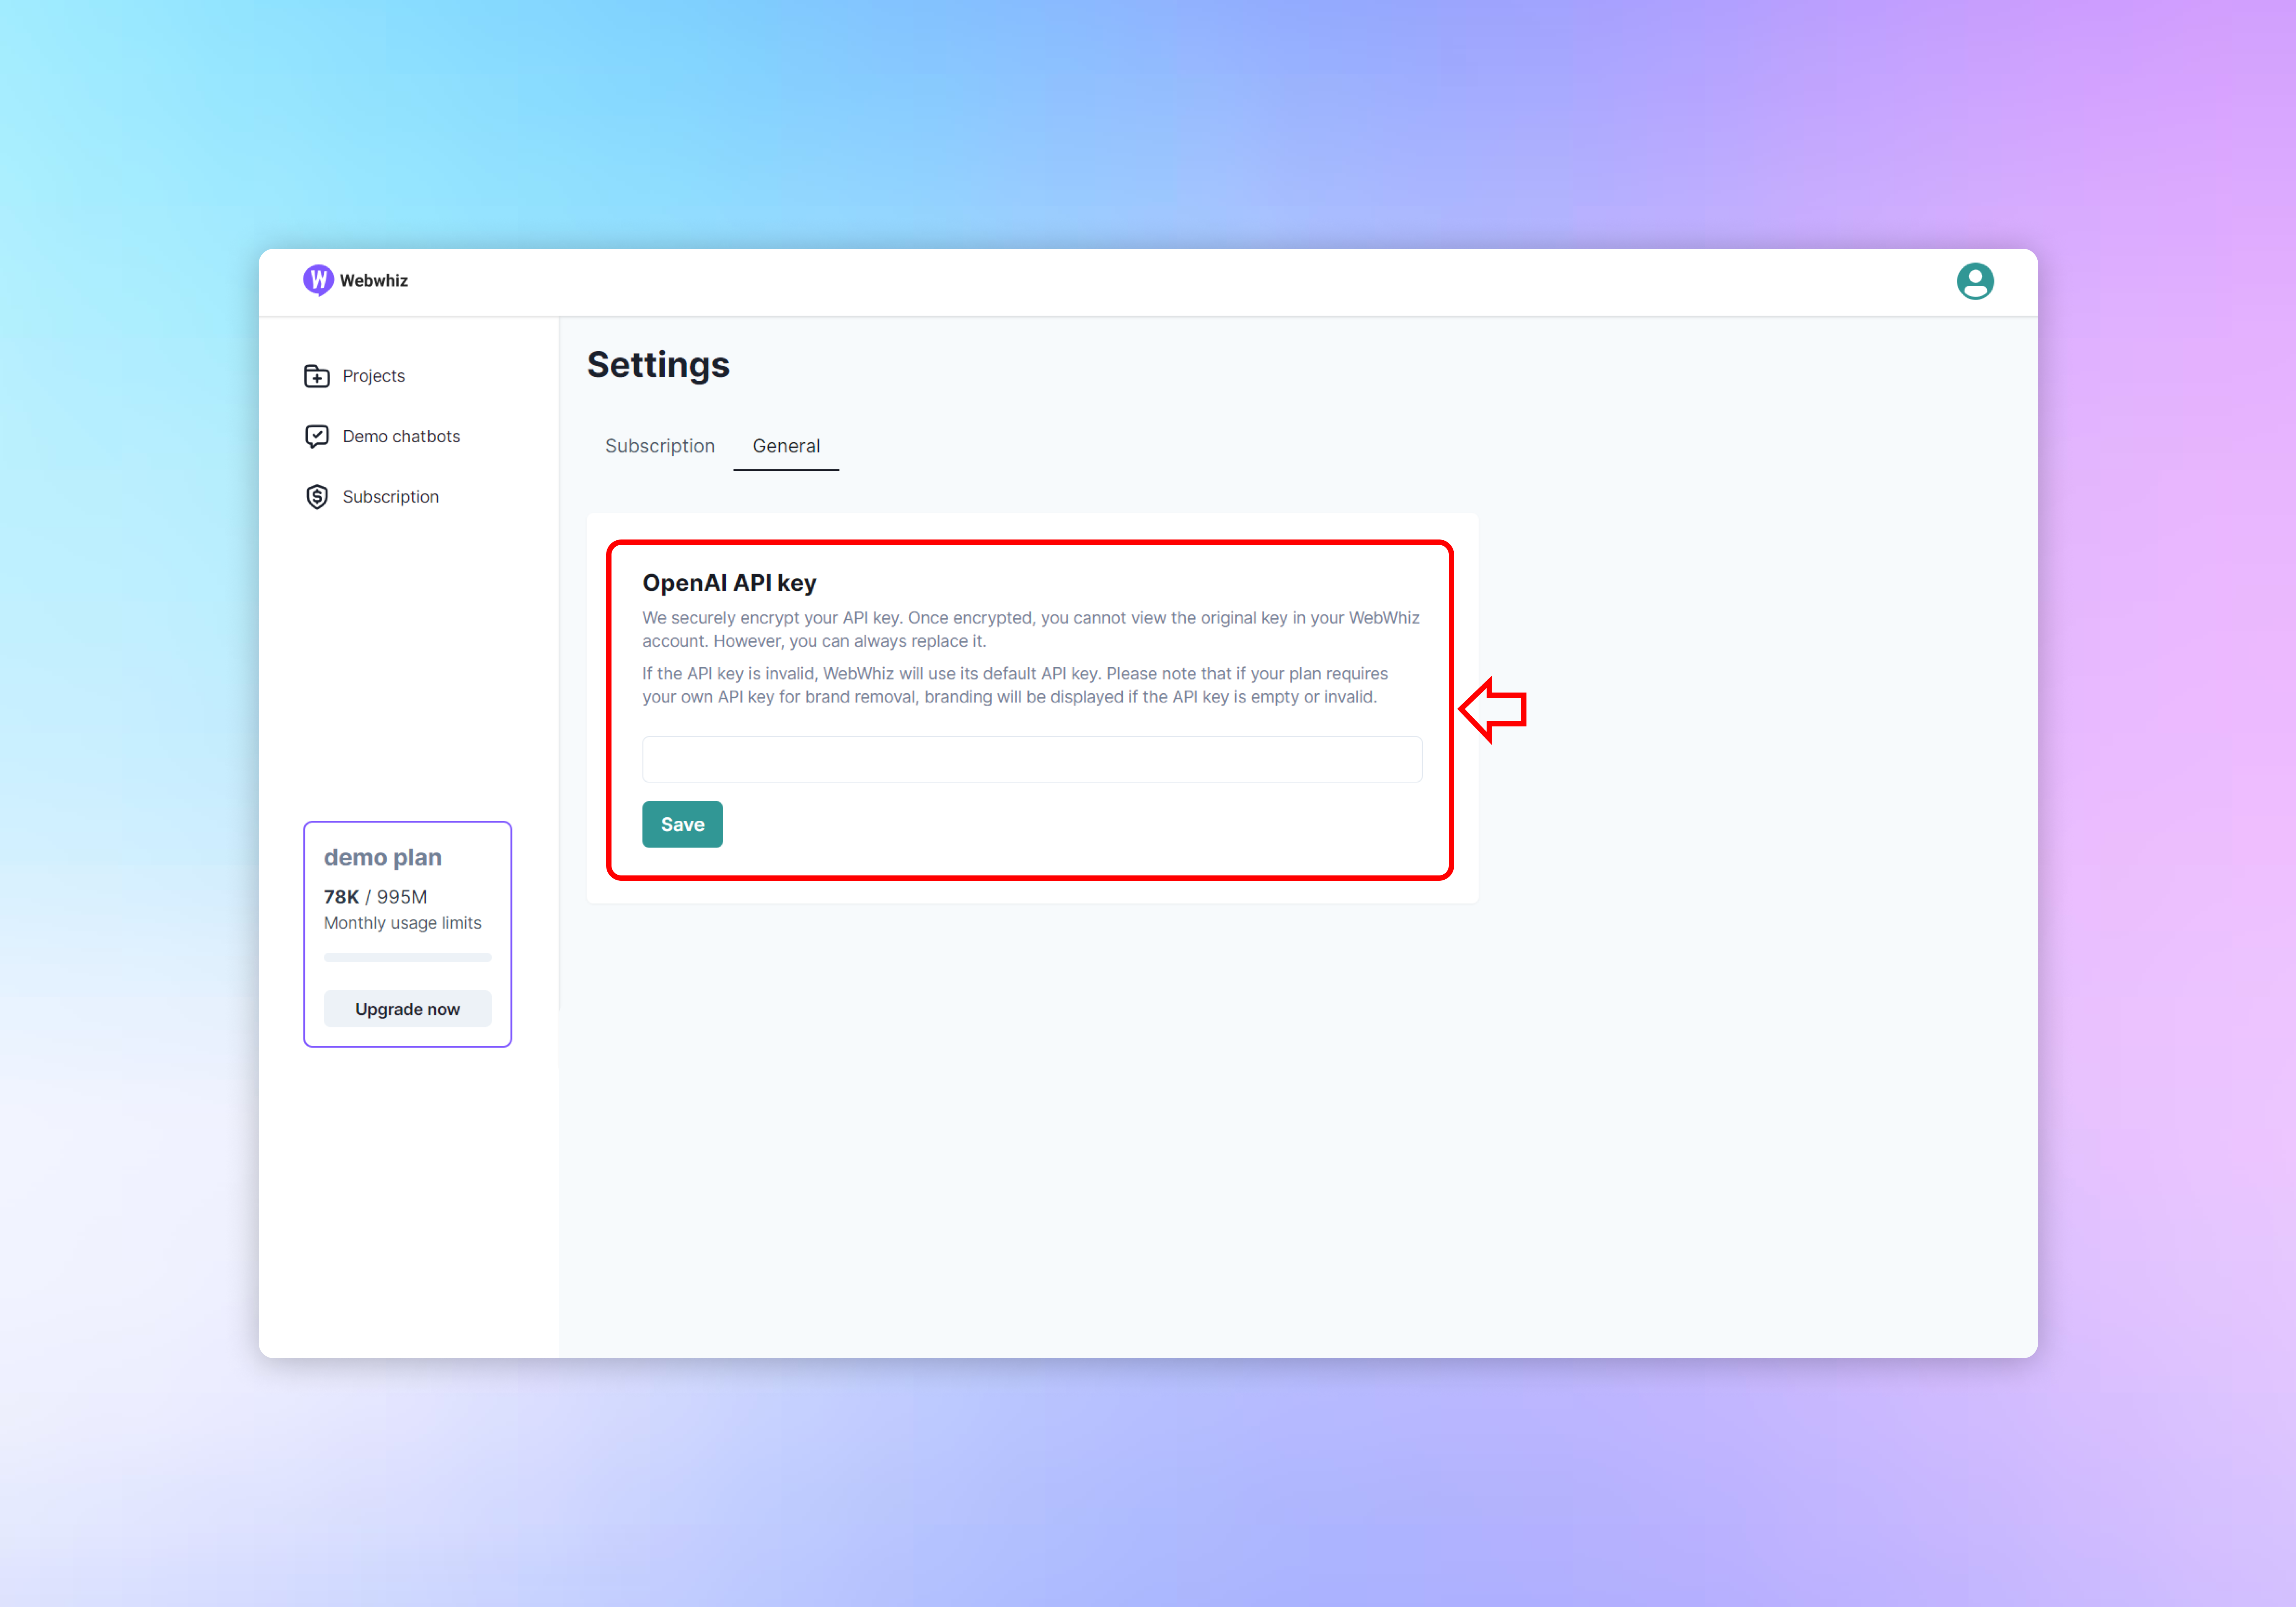
- In the “OpenAI API key” section, you’ll find an explanation about the encryption and security of your API key. Once encrypted, you cannot view the original key in your WebWhiz account, but you can always replace it with a new one.
- If your current API key is invalid or you wish to use a different key, enter the new API key in the provided text field.
Saving Your API Key
- After entering the new API key, click the “Save” button to update your settings. WebWhiz will securely encrypt and store your key for future use.
- Keep in mind that if the API key is invalid or left empty, WebWhiz will revert to using its default API key. Note that branding will be displayed if the API key is empty or invalid, which may not be desirable if your plan includes brand removal.
Need help with anything? Email us at hi@webwhiz.ai We’ll get back you as soon as possible